
Strawberry Mousse Cake Recipe

This recipe was inspired by this matcha mousse cake recipe, so this recipe’s ingredients are provided by weight. I provided the closest US customary units to the weight equivalent for anyone who prefers that, but remember that they are estimates and weight will always be more accurate!
Click here to skip to the recipe
The Ingredients

For this recipe, to create the strawberry flavor and look, I used a combination of strawberry extract and pink food coloring. I didn’t try using strawberry puree in this recipe, but that would definitely be a yummy alternative!
I also never have cake flour, so instead of using cake flour, I made my own using all-purpose flour and cornstarch. The specific ratio for this recipe was 52g of all-purpose flour to 8g cornstarch. You can also prepare a cup of cake flour by measuring out 1 cup of all-purpose flour, removing 2 tbsp, then adding 2 tbsp of cornstarch, then using however much you need. If you’re going to make your own cake flour, make sure it’s evenly mixed! I like to sift at least 2 times, but the more the better!
For the gelatin, I used gelatin powder because that was what was available at my grocery store, but depending on your location you may have gelatin sheets available to you instead. In that case, two gelatin sheets should be enough.
The Baking Process
Starting off with the cake layer, the recipe is fairly straightforward. The merengue in this cake batter requires soft peaks. The original recipe offered a tip for getting more consistent merengue by first beating the egg whites on low heat, increasing it to high, then decreasing it back to low until the peaks are soft and glossy. When you fold the egg whites and the egg yolk batter, you’ll want to make sure you don’t overmix so that the batter can stay light and airy.
If you’re using a mousse ring, you’ll want to bake the cake on a sheet pan lined with parchment paper, then when the cake is finished baking, remove it immediately from the sheet pan and cool it on a cooling rack. I used a springform pan, so I baked the cake in the ungreased pan, and when the cake was finished, I flipped the pan over on top of a cooling rack to prevent the cake from deflating while it cooled. I may have waited a little too long to flip the pan over because I noticed that the cake did deflate a little, but not by too much.

Now came time to prepare the mousse. As I mentioned in the ingredients section, if your area doesn’t have gelatin powder, you can use gelatin sheets, which you’ll want to soak in hot water before using. If you’re using gelatin powder you can just put it straight into the hot milk. The cream cheese will also need to be room temperature so that it isn’t chunky when mixed.

When splitting the mousse into batches for coloring, you can split it into as many batches as you want levels of color with each batch having less mousse and a higher color concentration, but I went with five levels. The main challenge here was keeping the consistency of the mousse smooth. The longer the mousse sits out, or the colder the temperature, the more quickly the mousse will start to congeal, which will make it harder to spread on the cake. The ideal consistency should be fairly liquid so that it can be easily poured on top of the cake and evenly spreads out. If you find that your mousse is thicker you can microwave the mousse in the microwave for about 5-10 seconds and give it a light mix before pouring it onto the cake. I initially tried keeping the mousse warm in a hot water bath, but found that the microwave had better results.

After all the mousse has been poured the cake will need to be refrigerated for at least 4 hours so the mousse can set, though keeping it cooled overnight would be preferred.
To remove the cake from the mold, I used a hairdryer to warm the sides, essentially melting the mousse just enough so that the edges of the cake pan can be separated from the cake. It’s because of this step that I would say a mousse ring/cake ring would be the ideal way to make this cake. The mousse ring allows you to have the chiffon cake removed from the baking sheet immediately and placed on whatever cake plate you want to use and is easy to slide off the cake after the edges have been warmed. I used a springform pan and at this step was pretty nervous about ripping the mousse. After I warmed up the sides of the pan, I slowly pulled the spring latch open, checking the edges closest to the opening to make sure it wouldn’t get pulled along with the pan edges. At first it didn’t seem melted enough, so I re-clasped the latch and used the hairdryer a little longer, and continued testing it a bit to make sure the edge could be removed clean.
The Results
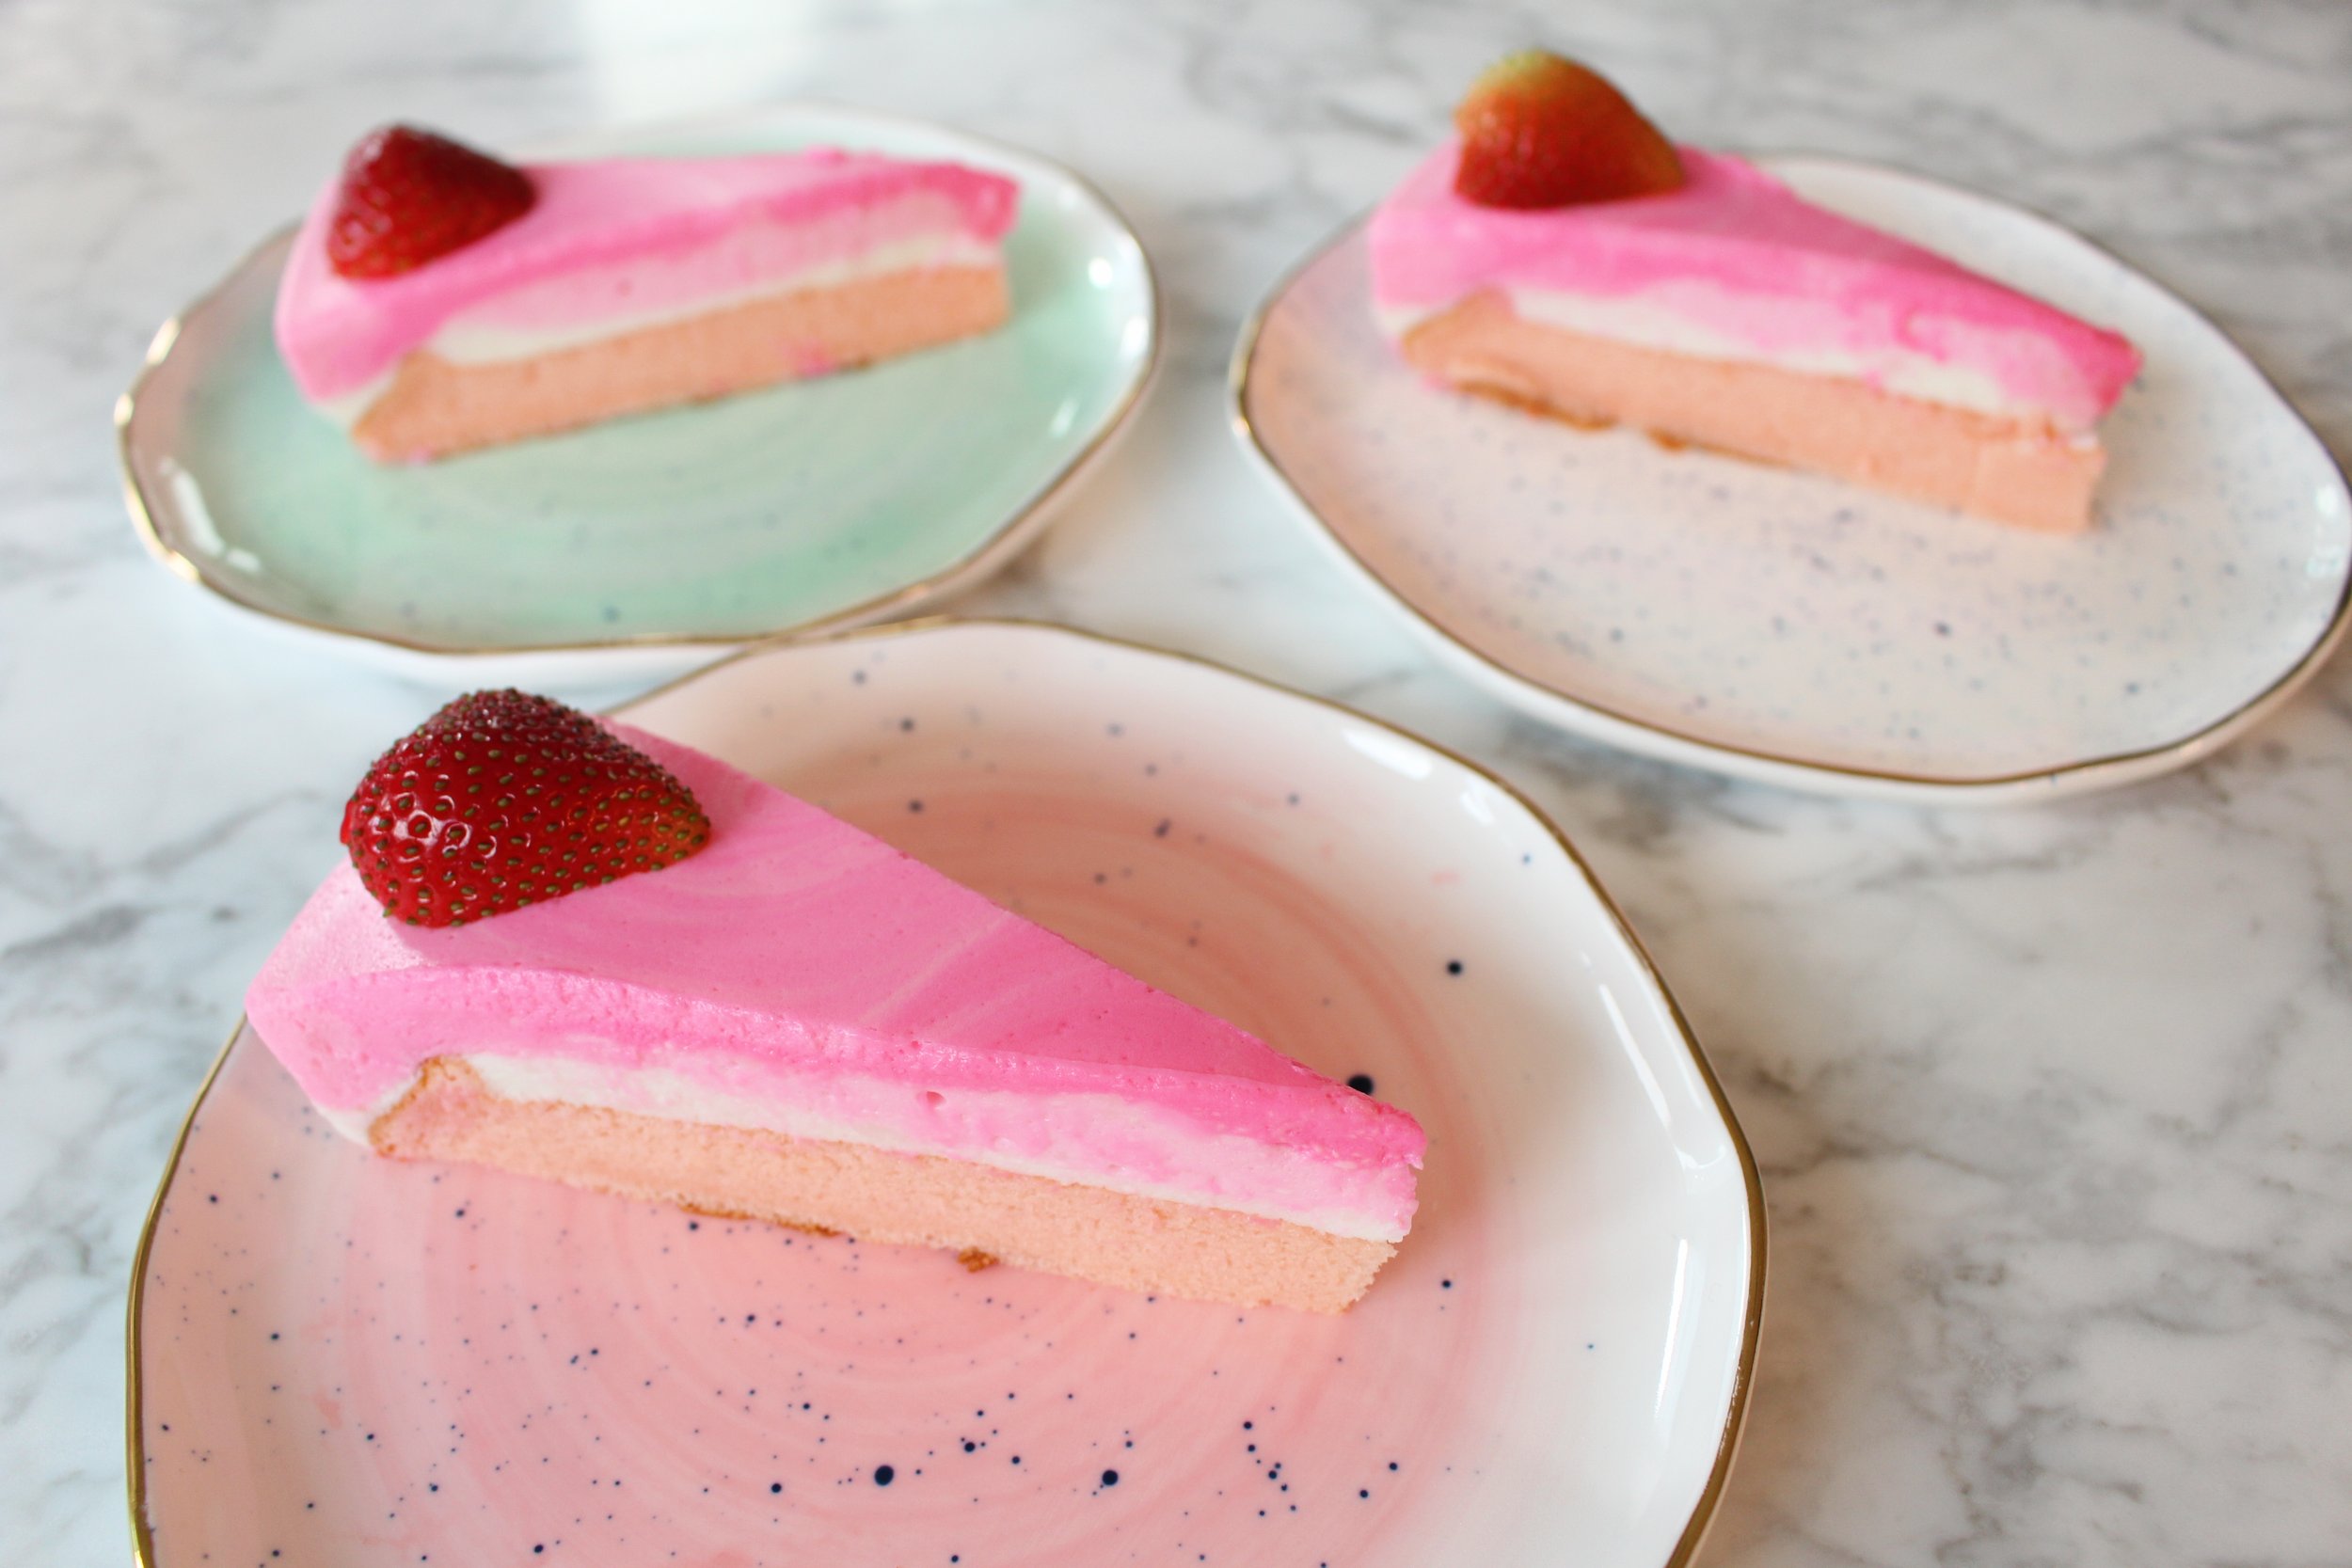
This cake came out fantastically! I’ll be honest, the first two layers were a bit too thick when I added them to the cake, so the first two layers were not so evenly distributed. But with the remaining three layers, I used the microwave trick to get them to the right consistency and they spread out nicely. But even with that little hiccup, the cake still turned out looking great!
And the flavor and texture were even better! I loved how light and airy the chiffon cake turned out, and the way the light strawberry flavor made it feel like I was eating a pink cloud. I honestly might use this recipe for all my cakes in the future! As for the mousse, I loved its smooth texture. The cream cheese flavor is quite strong and really stood out, so I would add more strawberry extract to the mousse the next time around, and I may consider swapping it out with mascarpone cheese since I think that has a bit lighter of a flavor.
This cake was soo yummy, lightly sweet, and fruity! It makes for a perfect dessert to show someone just how much you love them!
Strawberry Mousse Cake
Ingredients
Cake
ºoº 3 eggs
ºoº 60g (1/3 cup) granulated sugar
ºoº 25g (1 3/4 tbsp) avocado oil (or oil of choice)
ºoº 1 tsp strawberry extract
ºoº 1-2 drops pink food coloring
ºoº 60g (1/4 cup) milk
ºoº 60g (1/2 cup) cake flour
ºoº Pinch of salt
Mousse
ºoº 12g (1 1/2) gelatin packets
ºoº 1/2 tbsp strawberry extract
ºoº 187.5g (3/4 cup) milk
ºoº 105g (1/2 cup) granulated sugar
ºoº 150g (2/3 cup) cream cheese (room temperature)
Directions
Cake
Preheat the oven to 356F
Separate the egg whites and egg yolks
Add a little bit of the granulated sugar to the egg yolks and mix it together
Slowly incorporate the oil into the egg yolk while whisking
Add the strawberry extract and pink food coloring to the milk
Mix the strawberry milk mixture into the egg yolks and mix until evenly combined
Sift the cake flour into the egg yolk mixture in batches until thoroughly combined in a thick mixture
Add the remaining sugar to the egg whites and beat until you have soft peaks
Add 1/3 of the egg whites into the flour batter and fold until evenly mixed
Now add all the batter into the egg whites and fold until evenly mixed. Make sure to scrape the bottom!
Pour the batter into an ungreased cake pan with a removable bottom. If you don’t have one, you can bake the cake on a sheet pan lined with parchment paper and will need a mousse/cake ring
Bake the cake for 15 minutes
Take the cake out and immediately cool upside down on a cooling rack. This will help with preventing the cake from deflating
Mousse
Microwave the milk until hot (about 60 seconds)
Mix the gelatin into the hot milk until fully dissolved. If you still see chunks you can microwave the milk again in 10-15 minutes increments and continue mixing until it’s all dissolved
Add the warm water gelatin to the cream cheese and mix until evenly combined
Mix in the sugar and strawberry extract until it’s all dissolved. Optionally, for a smoother consistency filter the mixture through a sieve
Whip the heavy whipping cream until the surface has a texture, but is not fully thickened
Pour part of the cream cheese mixture into the cream and mix evenly. Then pour the rest of the cream cheese mixture in and mix
Separate the mousse into four bowls for the four different levels of coloring. The recommended batches from most concentrated to least is [1] 90g (1/3 cup), [2] 120g (1/2 cup), [3] 150g (2/3 cup), and [4] 150g (2/3 cup). You should have roughly 180g (3/4 cup) leftover that will not be colored.
Add 4 drops of food coloring in batch [1], 3 drops of food coloring in batch [2], 2 drops of food coloring in batch [3], and 1 drop of food coloring in batch [4] and mix them all until evenly incorporated. Additionally you can add some extra drops of strawberry extract if you want a stronger flavor
Assembly
In the cooled cake pan, pour the uncolored batch of mousse paste until it covers the cake. From lightest to darkest, pour each mousse paste batch in the center of the cake. ** The mousse paste should be relatively thin and each batch should have a similar consistency, otherwise it will not spread evenly on top of the cake. See notes for how to handle congealing mousse paste **
After all the mousse is poured, add any design you like or allow the mousse to stay in concentric circles, and refrigerate for at least 4 hours to allow the mousse to set (overnight preferred)
Remove from the refrigerator and slowly and evenly heat the edges of the cake pan with a hair dryer to loosen the sides
When the edges are warmed and the edges feel loosened, remove the cake from the mold. If you are using a springform, carefully loosen the spring clasp
Notes
ºoº The cream cheese can be substituted with mascarpone cheese
ºoº If using cream cheese, make sure it is at room temperature, otherwise mixing it will leave you with
lots of chunks
ºoº Cake flour can be made using 52g of all-purpose flour and 8g of corn starch well mixed and sifted
ºoº Depending on the ambient temperature or how long your preparation takes, your mousse paste
may start to thicken. To keep it warm you can keep the bowls of mousse paste in a hot water bath
to keep the paste loose, or microwave the batch you’re about to use for about 5-10 seconds until it
thins but is not too hot
ºoº When you’re heating the edges of your pan to remove the mousse cake, be careful not to heat it
too hot or the mousse may start to melt again
As an Amazon Affiliate, I will make a small commission off any purchases you make through the Amazon links that I've provided at no extra cost to you!