
Ube Pumpkin Pie Recipe

This year, I wanted to add a bit of an Asian-inspired twist to one of my favorite fall treats: pumpkin pie! This was a fun recipe to experiment with since I was not only changing the flavor profile, but also the texture. I’d never tried making a pie crust from scratch (or making a pie at all) so it was an exciting experience!
Click here to jump to the recipe
The Ingredients

So instead of a standard pie crust, I decided to make my crust out of purple yams (otherwise known as ube)!
Ube (Purple Yam)
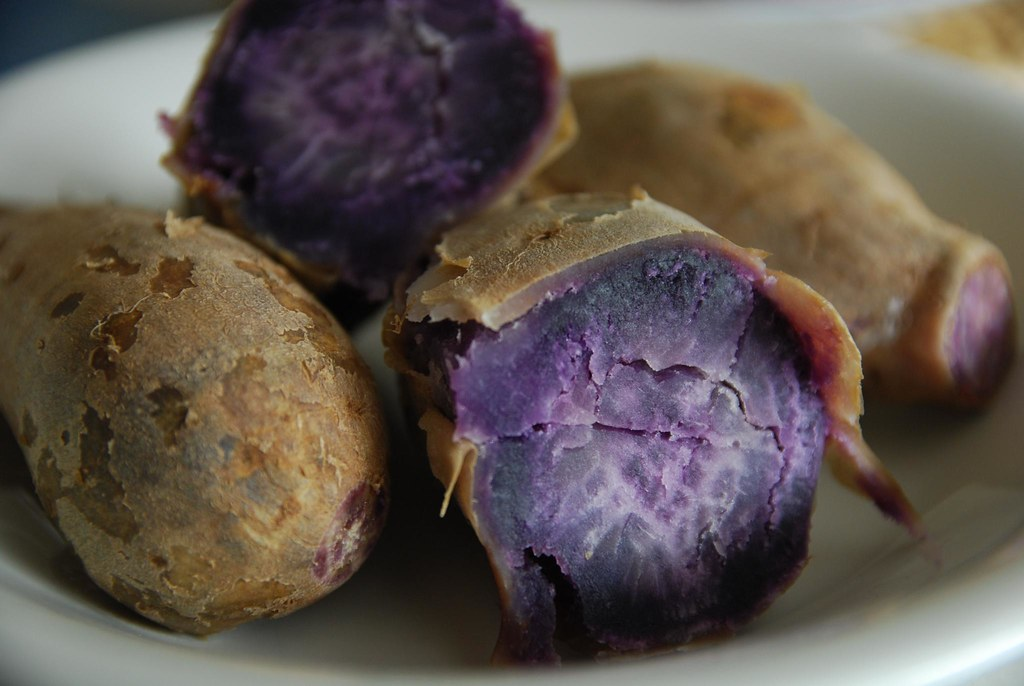
Steamed ube (Photo from avlxyz on Flickr)
For those who don’t know, ube is a starchy, slightly sweet, and nutty root that originates from Southeast Asia, namely the Philippines. It has such a stunningly purple color, it’s almost unreal! I grew up mostly eating just plain steamed purple yams and loved it, so it was fun to use this nostalgic flavor into something new and different. I also used rice flour for this crust instead of the typical all-purpose flour, which gave it an additional bounce and chewiness to the crust.
Then for the pumpkin pie filling, I used a standard can of pumpkin puree I bought from Target. You can also use a fresh pie pumpkin (not to be confused with the ones you use for carving!), but if you do use canned, make sure it’s pure pumpkin and not canned pumpkin pie filling, since it’ll have other ingredients.
The Process
I started off by preparing the crust. The night before, I prepared the ube by baking them wrapped in aluminum foil at 400F for about 40 minutes until I could easily poke a fork through them. After allowing them to cool, I peeled one large root and mashed it with a fork until smooth and refrigerated it overnight to use the next day.
To create the crust dough, I mixed together all of the dry ingredients, then added them into the mashed ube and kneaded it together. Then I added in the vegetable oil and continued to knead until it was smooth and slightly tacky. If the dough is too dry, add in sprinkles of water and knead until distributed (but be careful not to overknead, as it may cause the result to be a bit tough). Then I covered the dough in a bowl with plastic wrap and refrigerated it for 30 minutes.
When the dough was ready, I rolled it out over a lightly floured surface using a handy dandy glass bottle as a rolling pin until it was slightly larger than my pie pan. Ideally the dough should be rolled out to about ⅛ inch or so. Since this was my first time I was a bit sloppy with rolling it out and my crust was about ¼ inch thick, but I definitely learned my lesson and can do better next time. I also didn’t totally mind a thicker crust since I liked the ube anyway! It’s funny how much the crust looks like play-doh! Admittedly, the crust in this attempt was a bit on the dry side. The addition of the oil adds more moisture which will make the crust look more smooth.
The filling part is easy peasy. All you have to do is mix everything together until it’s smooth, and it’s ready to go!

After pouring the filling and tapping for air bubbles, the pie’s ready to be baked for around 50-60 minutes, checking in every 15-20 minutes to make sure the crust doesn’t brown too much. When the pie was done baking, I allowed it to cool in the refrigerator for a few hours before cutting into and enjoying a slice!
The Results
How pretty is this??
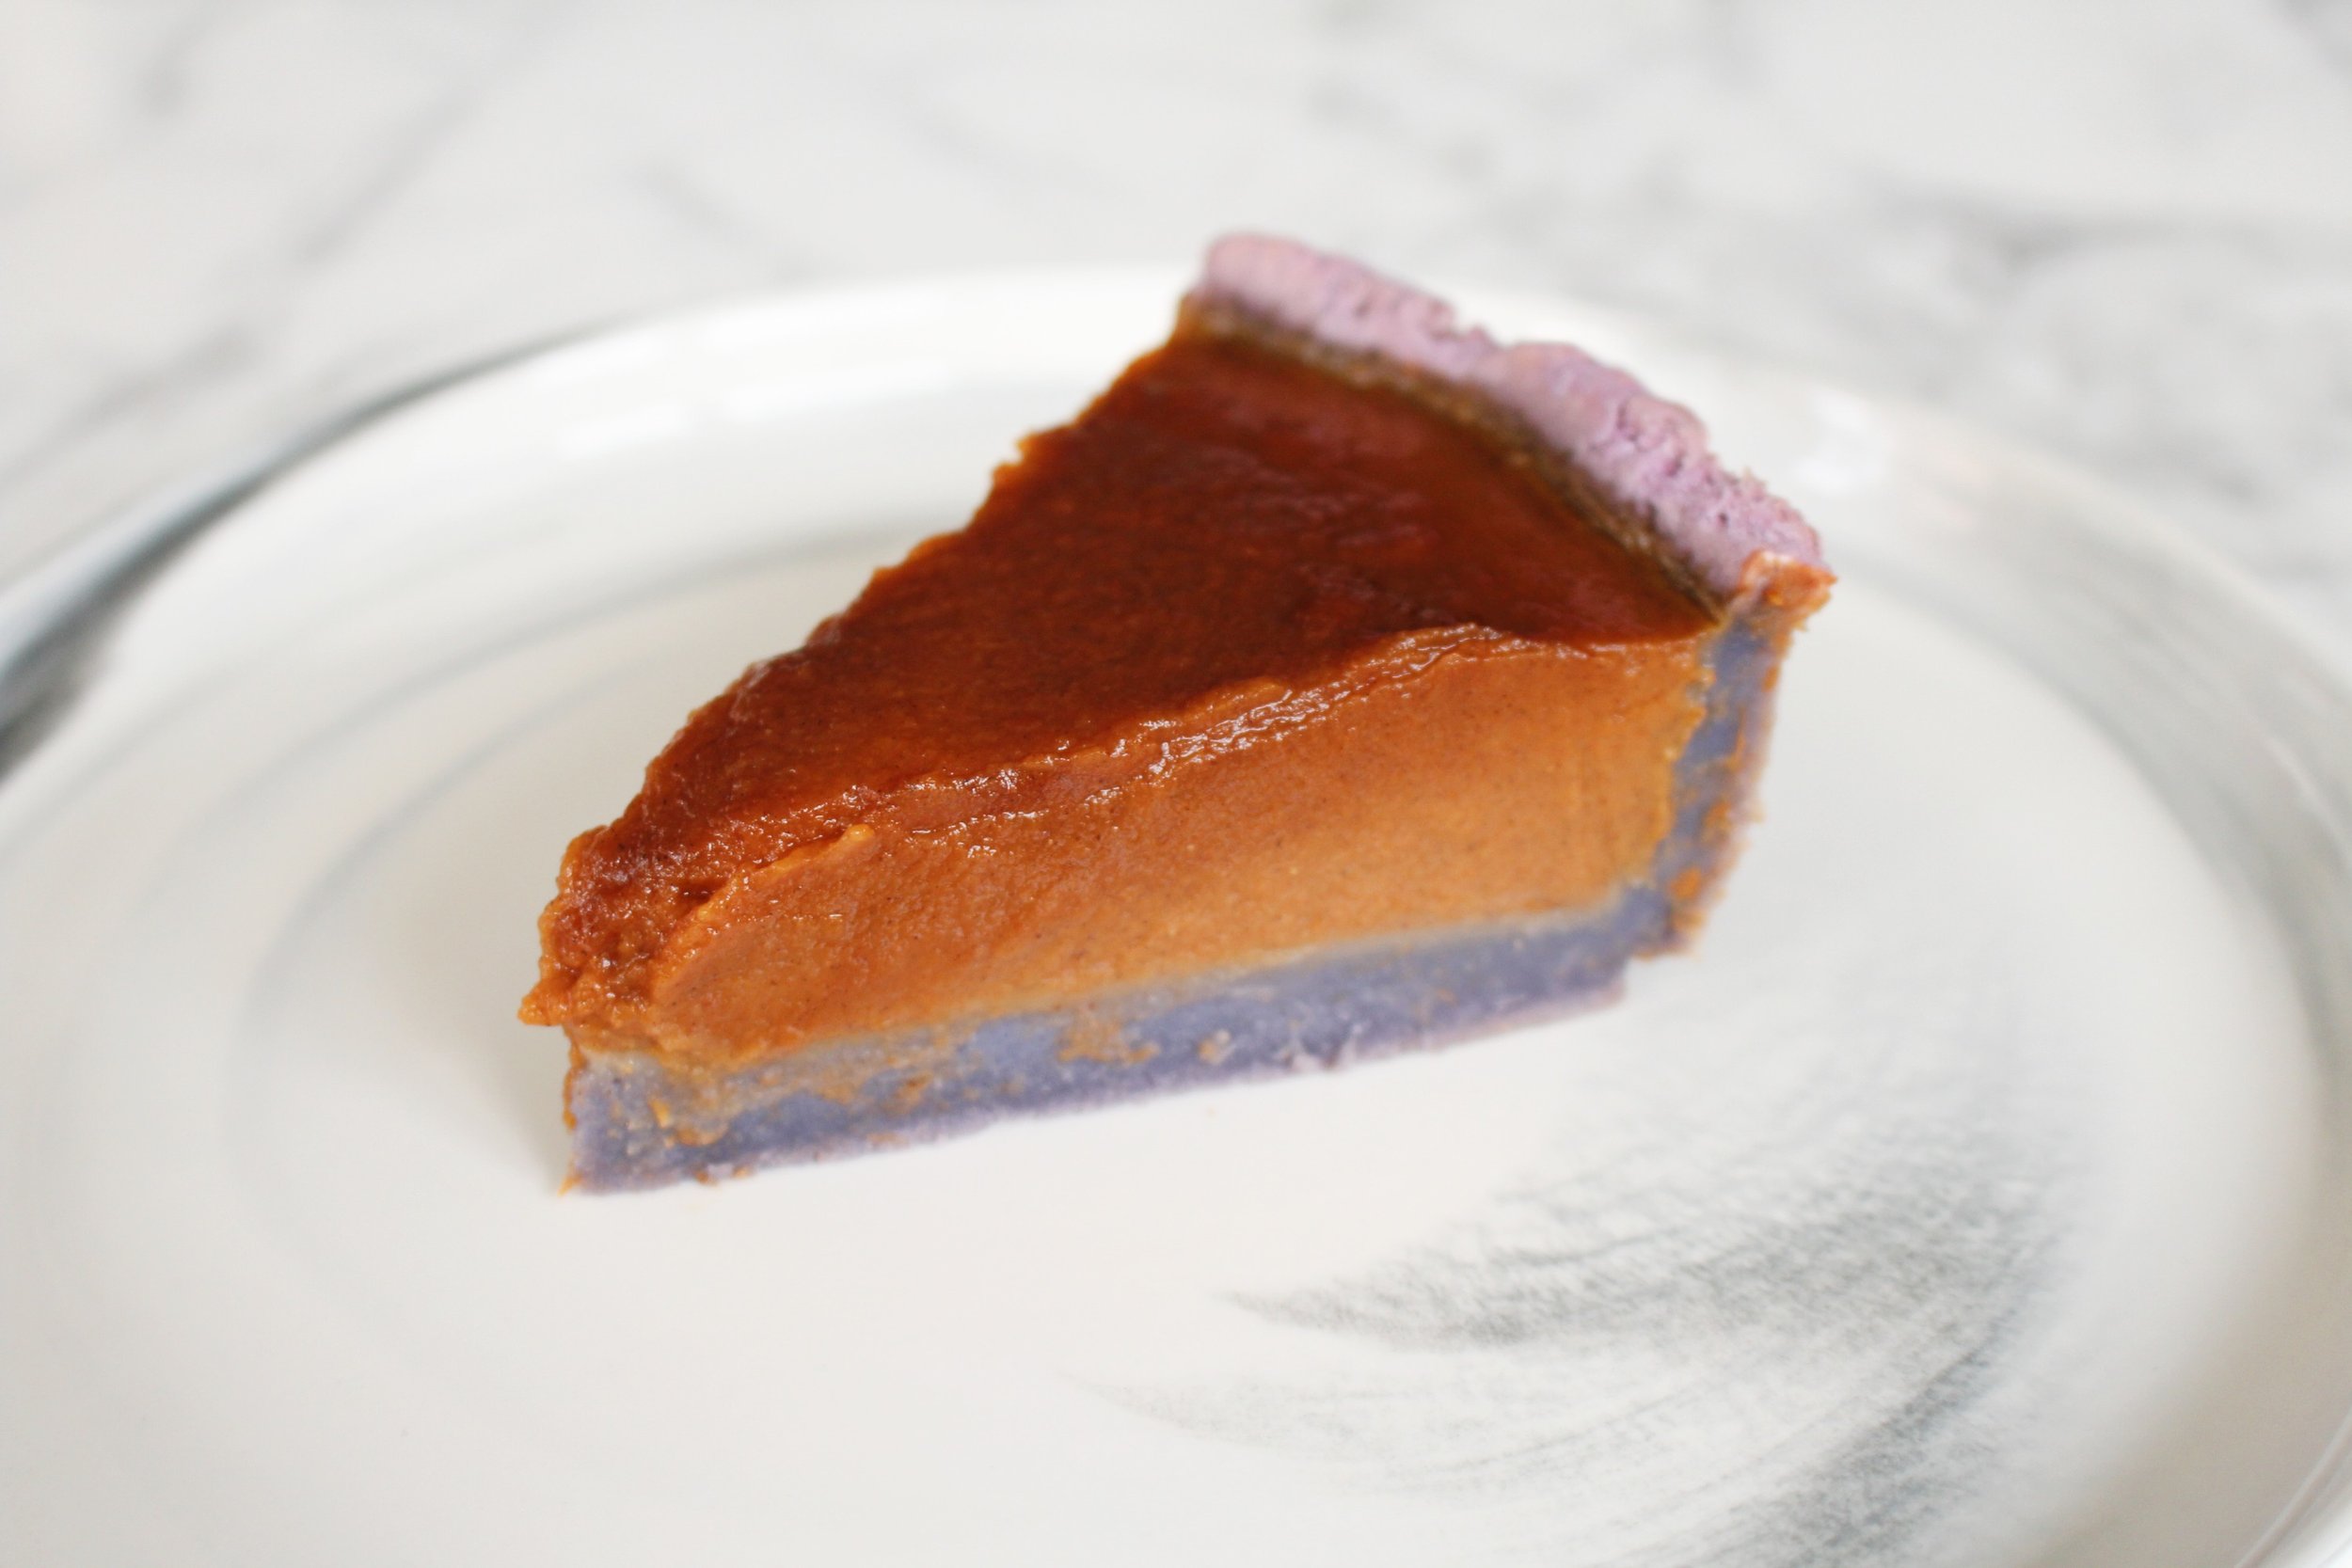
I love that the purple color of the crust came out so well! While I was rolling out the dough, it was a really dull purple so I was afraid it’d be more bluish or light colored, but it’s just as vibrant as I was hoping it would be!
The pumpkin pie filling was smooth and yummy! I love all the spices in it and I think the amount is at a pretty good level (though as a spice-lover, I could definitely use more!) If you’re more of a sweet tooth I would also add a tad more sugar, either granulated or brown. More brown sugar will result in a darker colored filling, so if you want it lighter, I’d use granulated.
Overall, I really enjoyed playing around with this recipe! The pumpkin flavor came out well (though my next challenge will probably be using fresh pumpkin!), and the texture of the ube crust was slightly bouncy, almost like mochi. Typically ube flavored things are pretty muted since the ube root itself has a very subtle flavor, and this crust was no exception. The flavor was definitely subtle, but it was nice to have the flavor balance out the sweetness of the pumpkin.
Ube Pumpkin Pie
Ingredients
Crust
ºoº 1 large ube
ºoº 1 cup rice flour
ºoº 1 tsp cornstarch
ºoº 1 tsp baking powder
ºoº 1/2 tsp salt
ºoº 1 tbsp vegetable oil
Pumpkin Pie Filling
ºoº 1 can (15 oz) pumpkin puree
ºoº 2 large eggs
ºoº 3/4 cup brown sugar
ºoº 1/2 tsp salt
ºoº 1 1/2 tsp cinnamon
ºoº 1/2 tsp ground ginger
ºoº 1/4 tsp nutmeg
ºoº 1/4 tsp pumpkin pie spice
ºoº 1 tsp vanilla
ºoº 1/4 cup oat milk
Directions
Mix rice flour, cornstarch, salt, and baking powder together
Add dry ingredients into the mash
Knead the dough until no longer sticky
Press dough into a ball, cover, and refrigerate for at least 30 minutes
Roll out and press into greased pie pan
Preheat oven to 350 degrees
Mix together the pumpkin puree, eggs, brown sugar, oat milk, vanilla, cinnamon, nutmeg, ground ginger, pumpkin pie spice, and salt
Mix until completely smooth
Pour into pie pan
Bake 50-60 minutes until filling is no longer jiggly
Check every 20 minutes to make sure crust isn’t burning
If getting too brown, cover with foil
Refrigerate pie for at least one hour
Notes
ºoº If the crust dough is too dry, add in a little spritz of water until it reaches a tacky texture
ºoº Adjust the ratio of spices to your liking!