
Home Sweet Home: Character Mosaics Tutorial

One of the best (and somewhat stressful) parts of having a brand new house is filling it with decorative and fun works of art! And of course, being me, I wanted to find a way to bring as much Disney magic to it as possible.
I definitely knew I wanted to showcase the Sensational Six, and one of the first ideas that came to mind was a set of handmade silhouette mosaics!
I love this idea and this craft project because not only is it pretty easy to do, but it’s also super affordable! I literally used pages from scrap mail, magazines, and any other waste paper I could find in the colors I was looking for! Along with some scissors, glue, cardstock, and a light source this craft is a perfect thrifty recipe for a super cute and easy piece of artwork!
To start, I drew an outline of a character silhouette on a piece of paper in the size that I wanted. You can create your own or look for one you like online to trace. I made sure to darken this outline so that it could be seen through the page that I’ll be placing on top. This serves as the guiding image for how the pieces of paper are placed on the base page. You can also draw the outline directly on the base paper that you’ll be gluing your mosaic pieces on, but will need to erase the outline afterwards. I liked having the outline underneath so I could avoid having the do the erasing step.

This is literally all you need to create a beautiful work of art!
Then I gathered the scrap pieces I wanted to use. I like using a monochrome color scheme for each of my pieces to give the image some texture while also sticking to a main color, but of course there are no color rules! Then, I placed my cardstock, which served as the base paper for the actual mosaic, on top of the outline and secured them together using either a few pieces of scotch tape or paper clips; this ensures the base page wouldn’t move while I glued on the pieces.
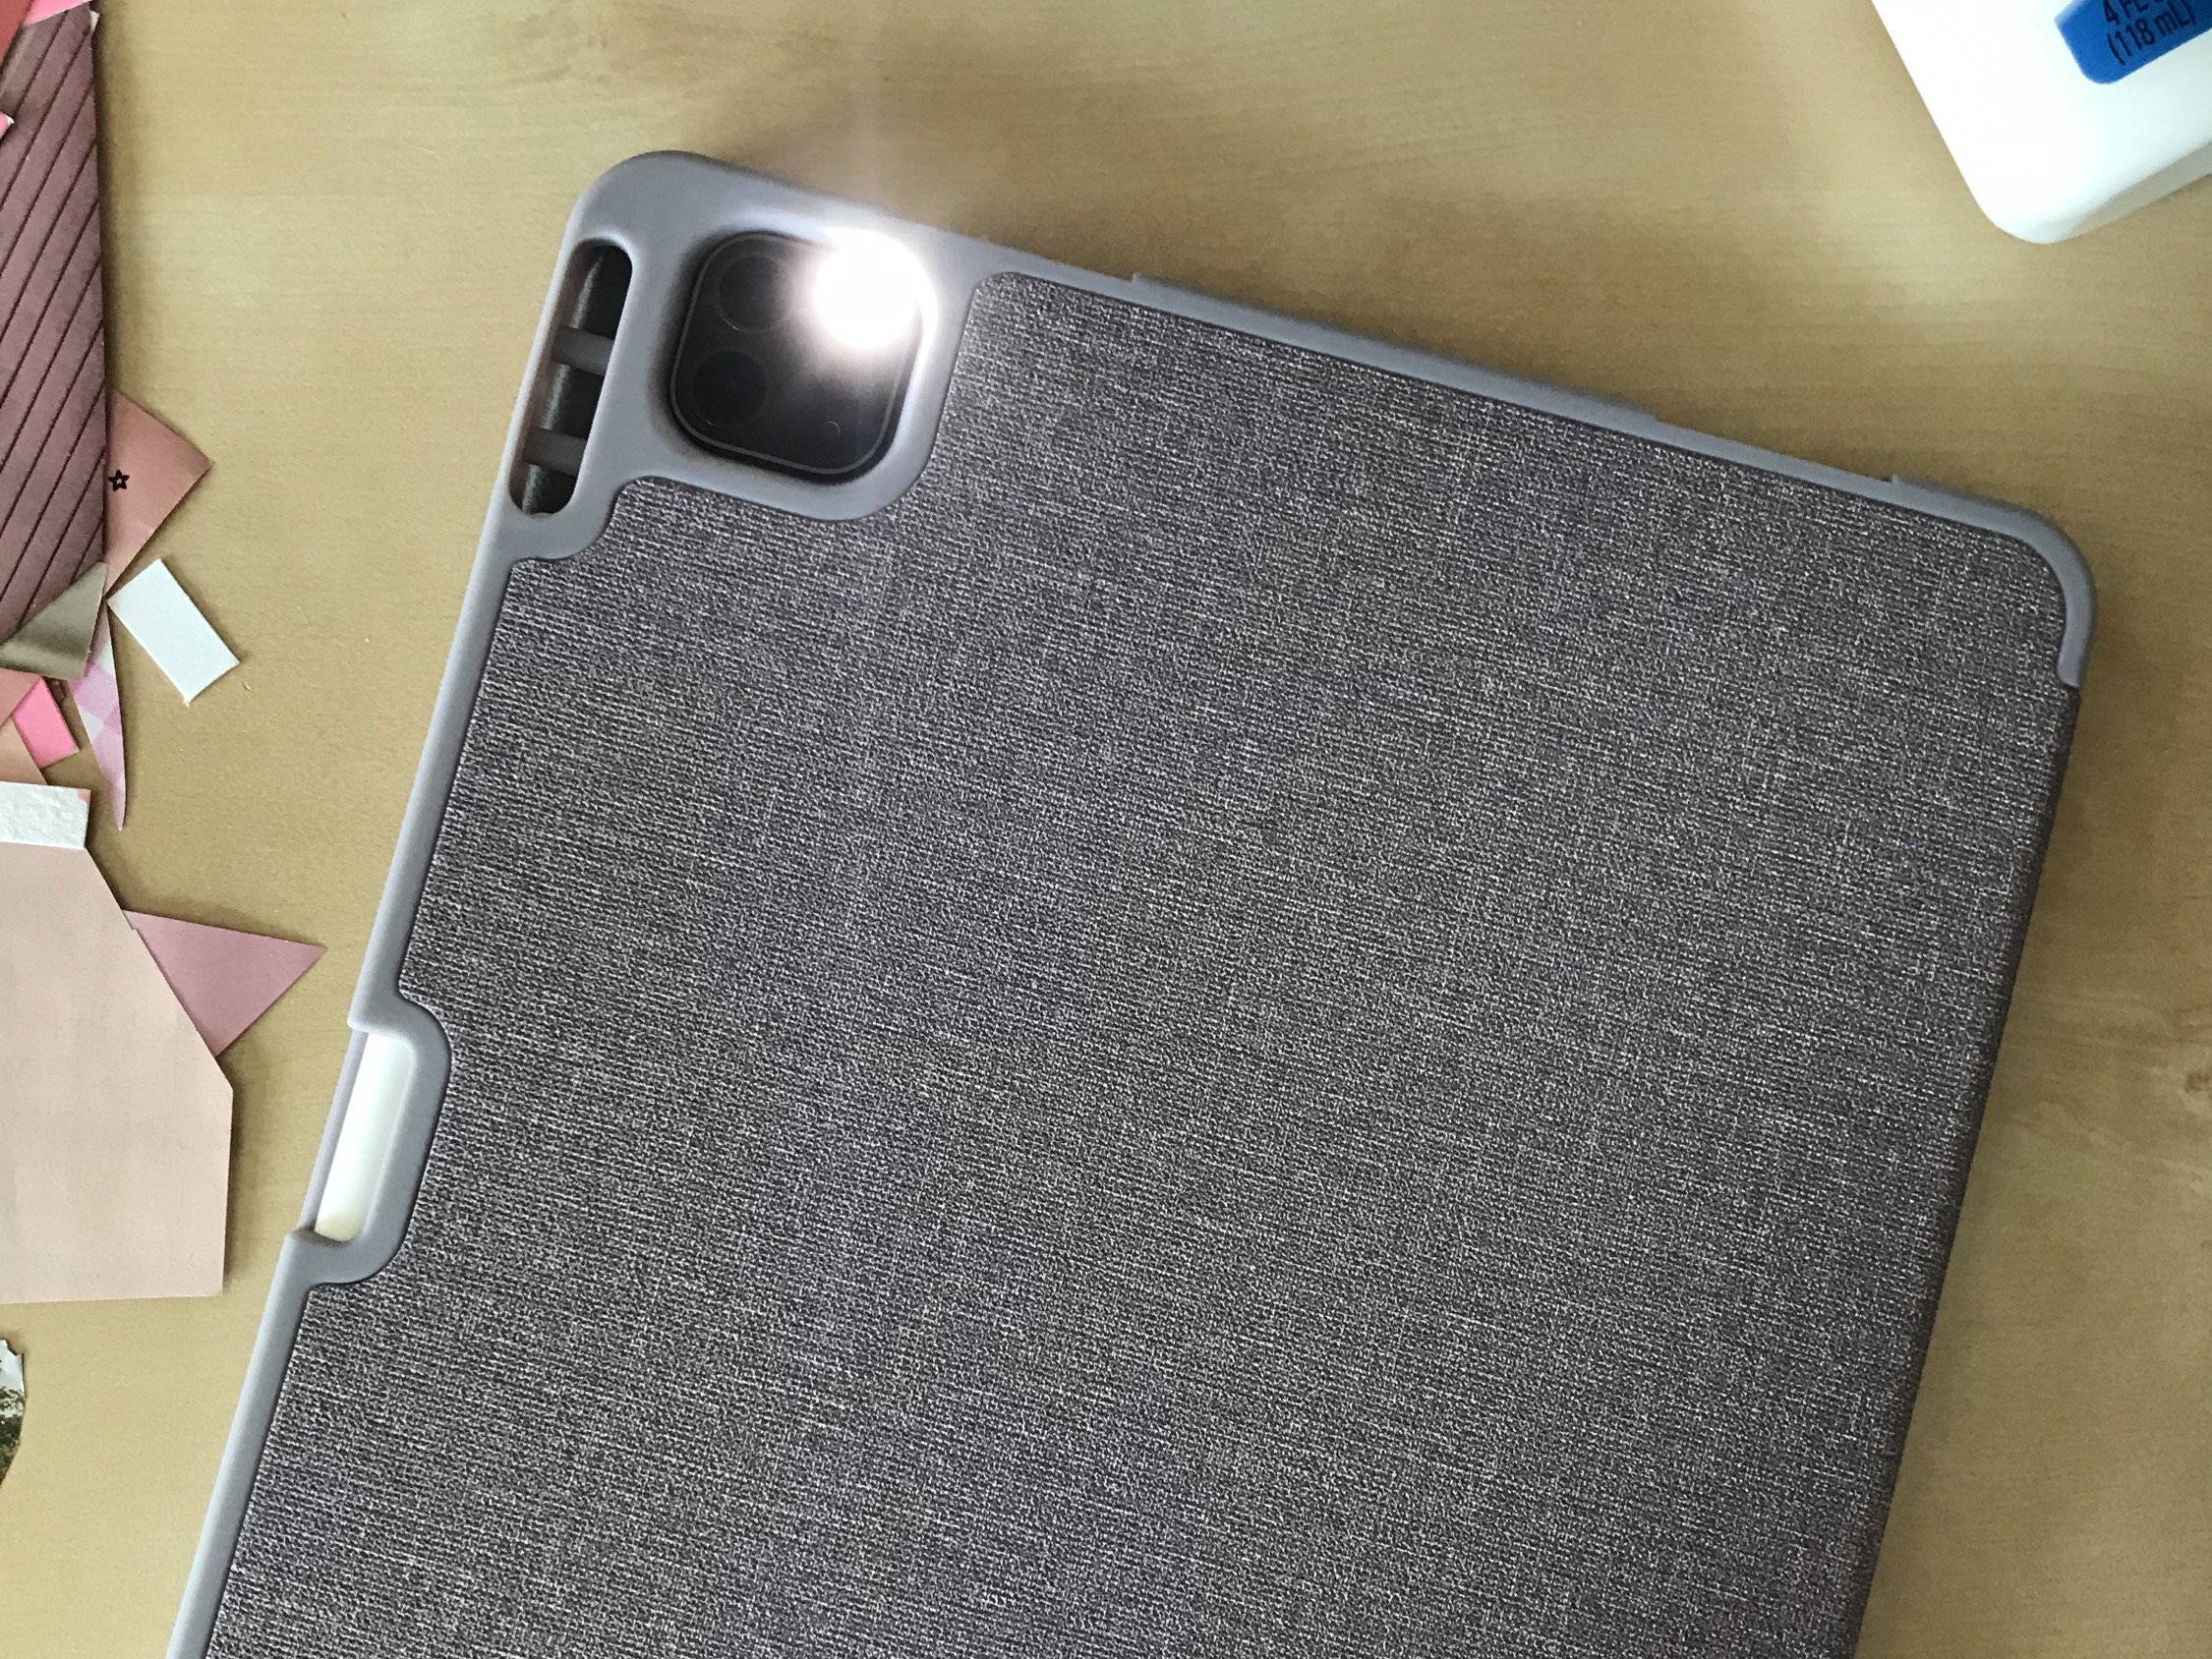
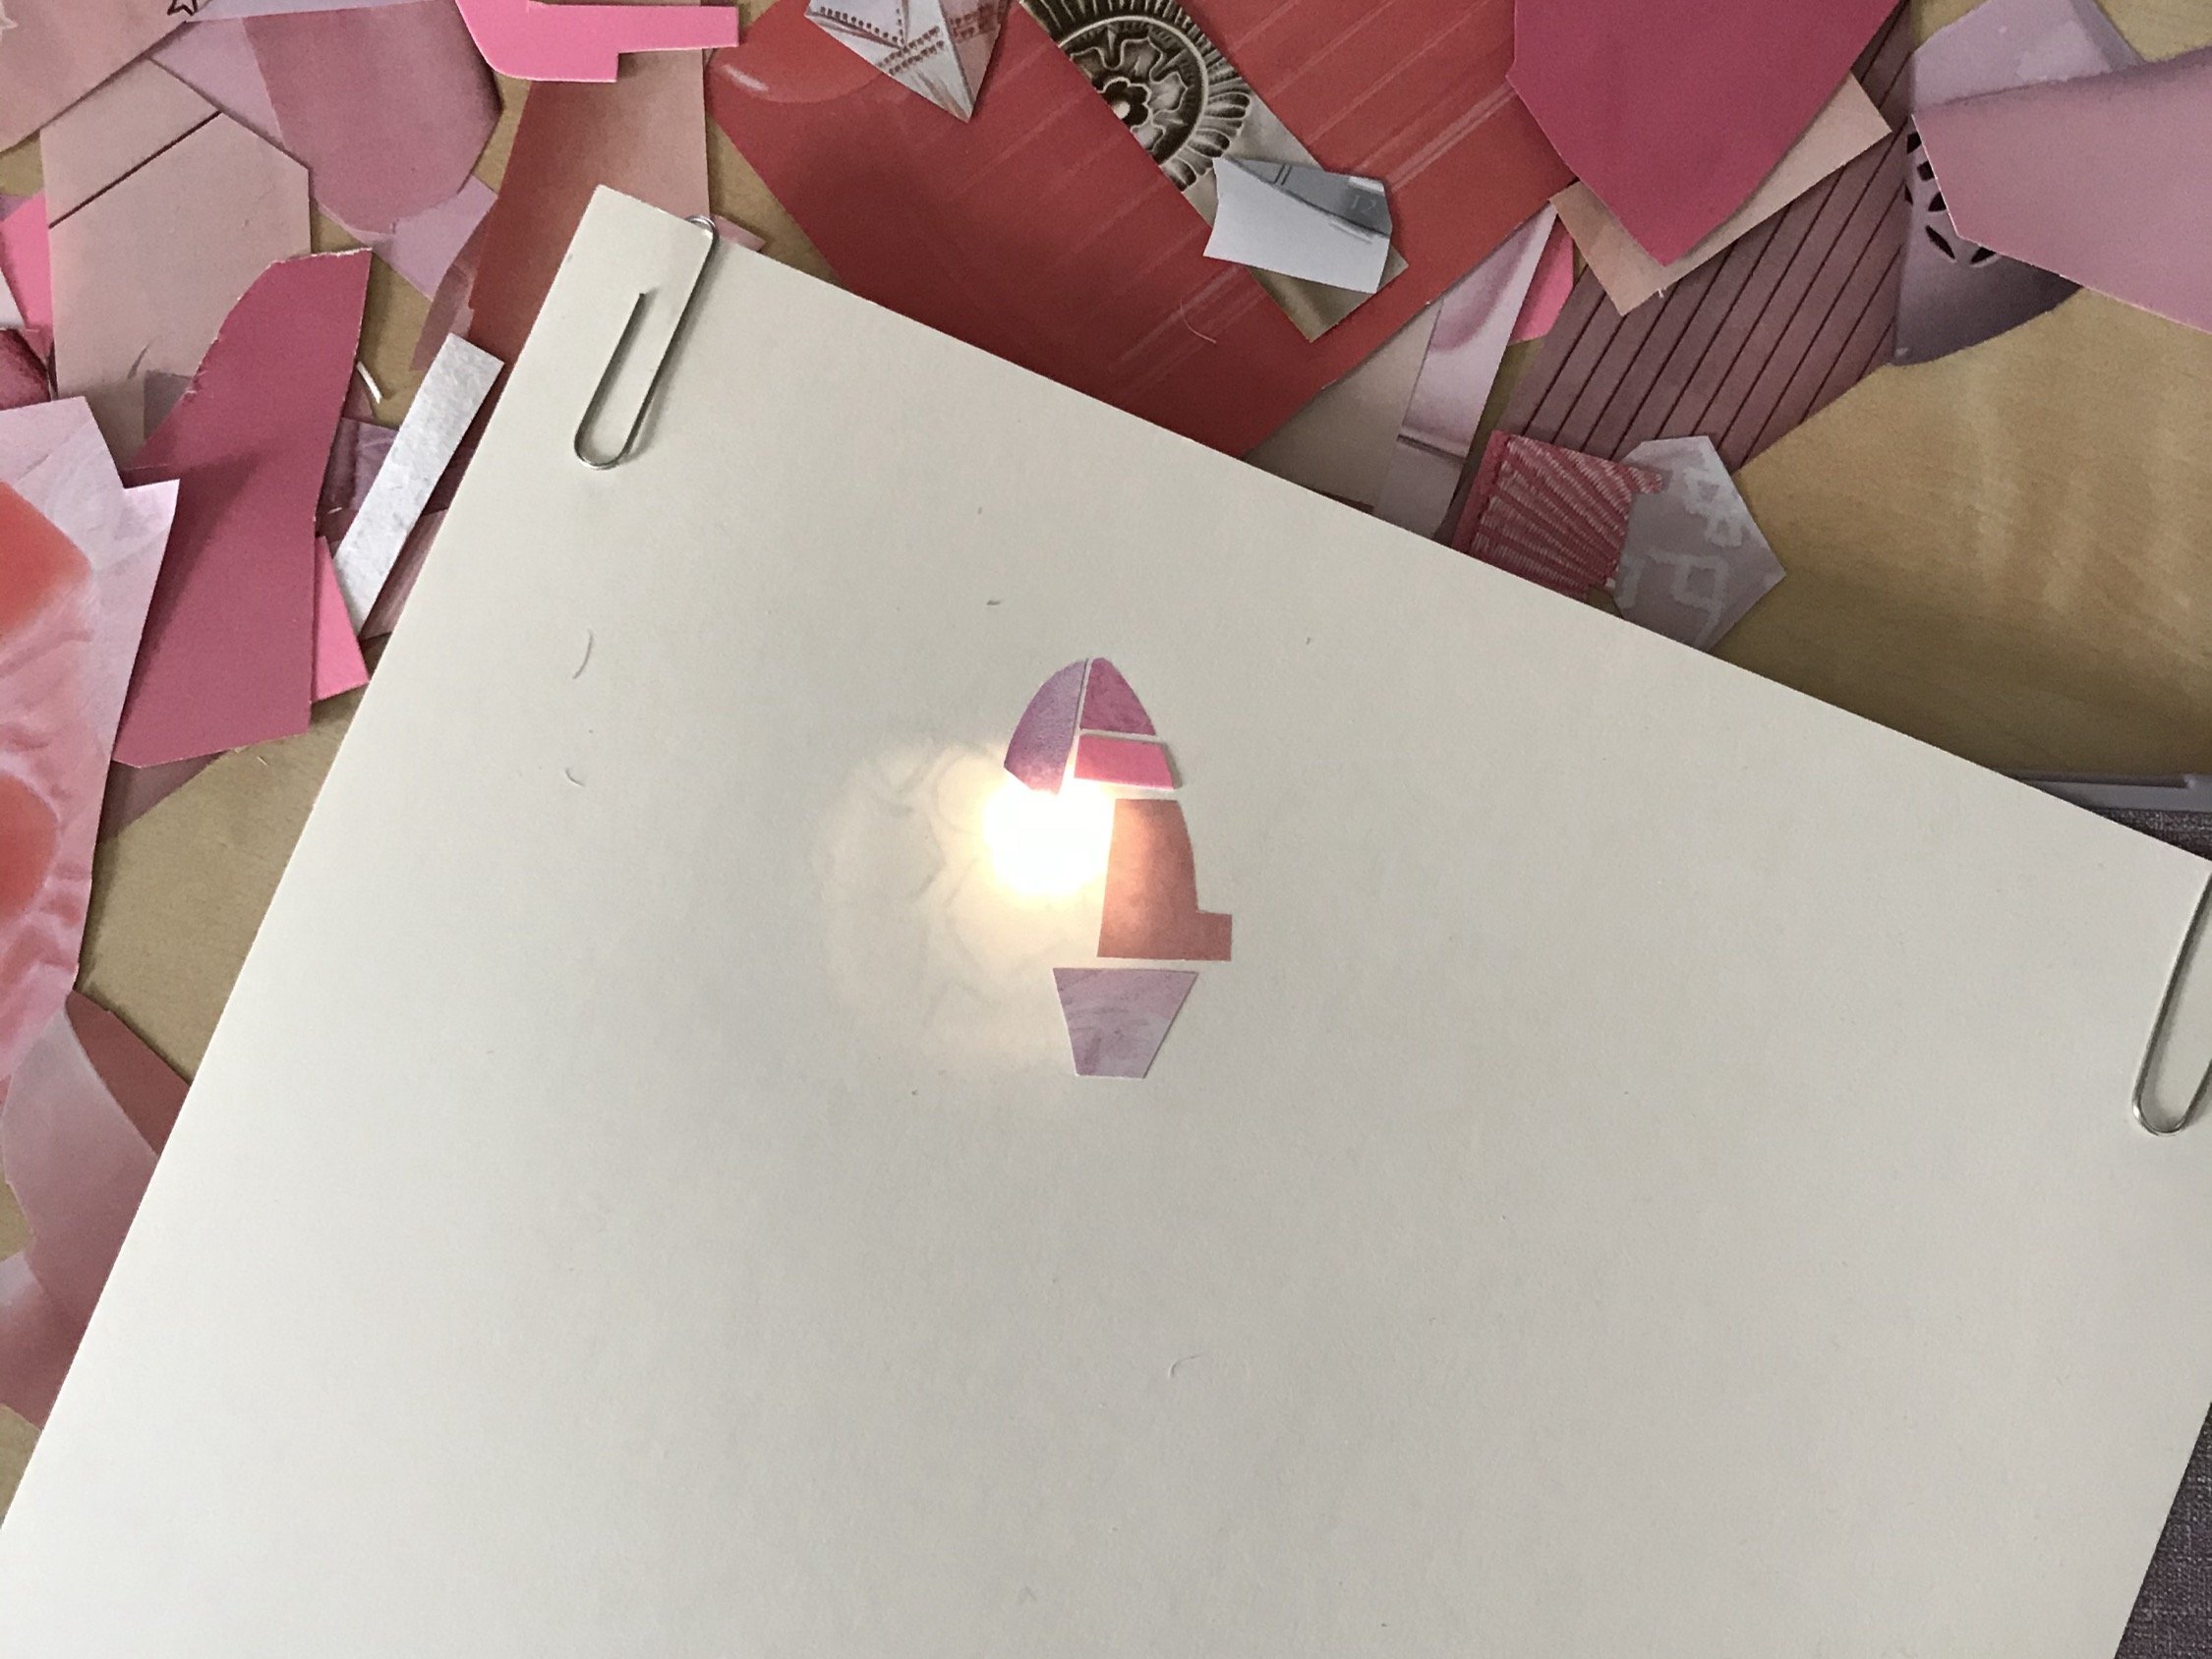
To make sure you’ve got the shape right is to place the pages over a light source so you can see the outline peaking through from the top. If you have a glass table, this makes it really easy, since you can put a flashlight underneath and place the pages on top of the glass table. Otherwise, you can hold the paper directly over a light. I improvised here with the flashlight from my iPad, but any light source will do.
And from there, it’s just about cutting scraps of paper in random shapes and placing them within the outline! For a standard letter size image, it took me a couple of hours spread out over a few days. It can be pretty intricate depending on how true to the outline you would want to make the silhouette, especially for smaller size images, but this is a super fun and thrifty project that anyone can do!
And if you're in need of affordable frames, I found that IKEA has some nice options at great prices!
Here’s the final result of some of the mosaics I made for my place!

Character Mosaic
Supplies
Colored paper
School glue
Scissors
Paper clips / tape
Card stock
Paper
Light source
Steps
Trace the silhouette outline of the chosen character
Place the card stock on top of the paper with the tracing. Secure them in place with paper clips or tape
Place the the card stock and paper over a light source to see the tracing underneath
Cut the color paper into various shapes and sizes and glue the tiles on the card stock in the shape of the character