
Orange Bird Creamsicle Cake Recipe
Nothing beats the summer heat like a nice cold and refreshing orange creamsicle! And what better way to celebrate the summer weather and a classic and beloved Disney character than to create a dessert that basically combines the two!
This was my first time trying to incorporate a bit of an unexpected ingredient that I typically wouldn’t use to bake a cake: marshmallows! It took a bit of experimentation and rolling with the punches to make this recipe work out, but overall I think it turned out pretty good for a novice baker like me!
Click here to jump straight to the recipe
The Ingredients
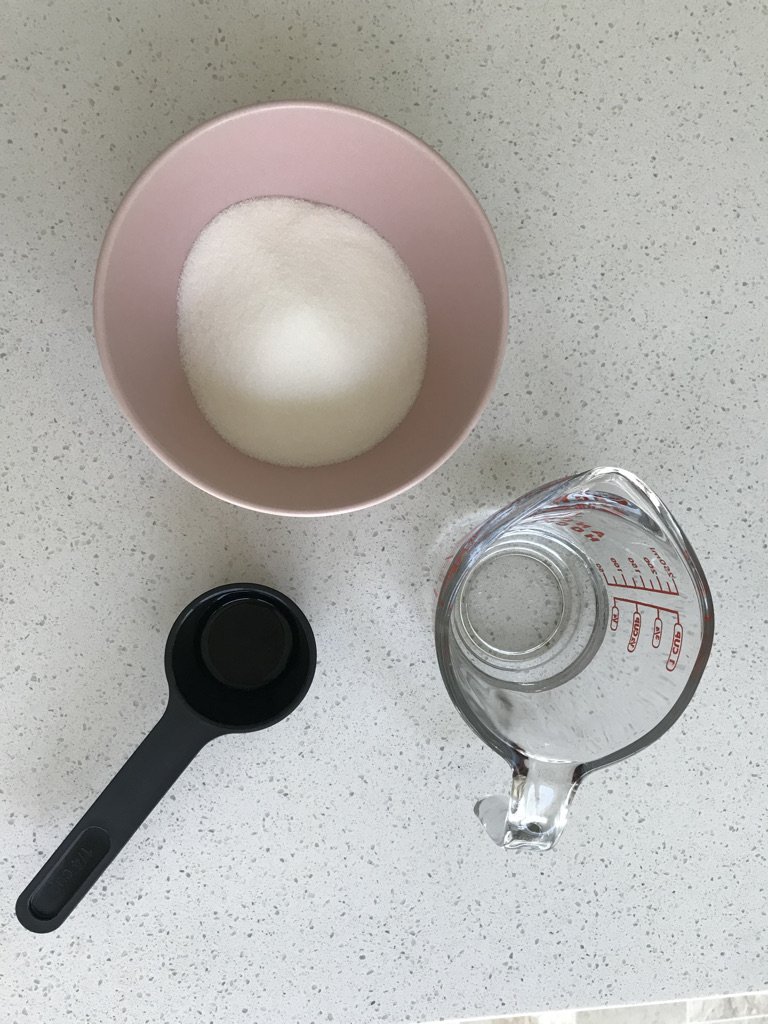
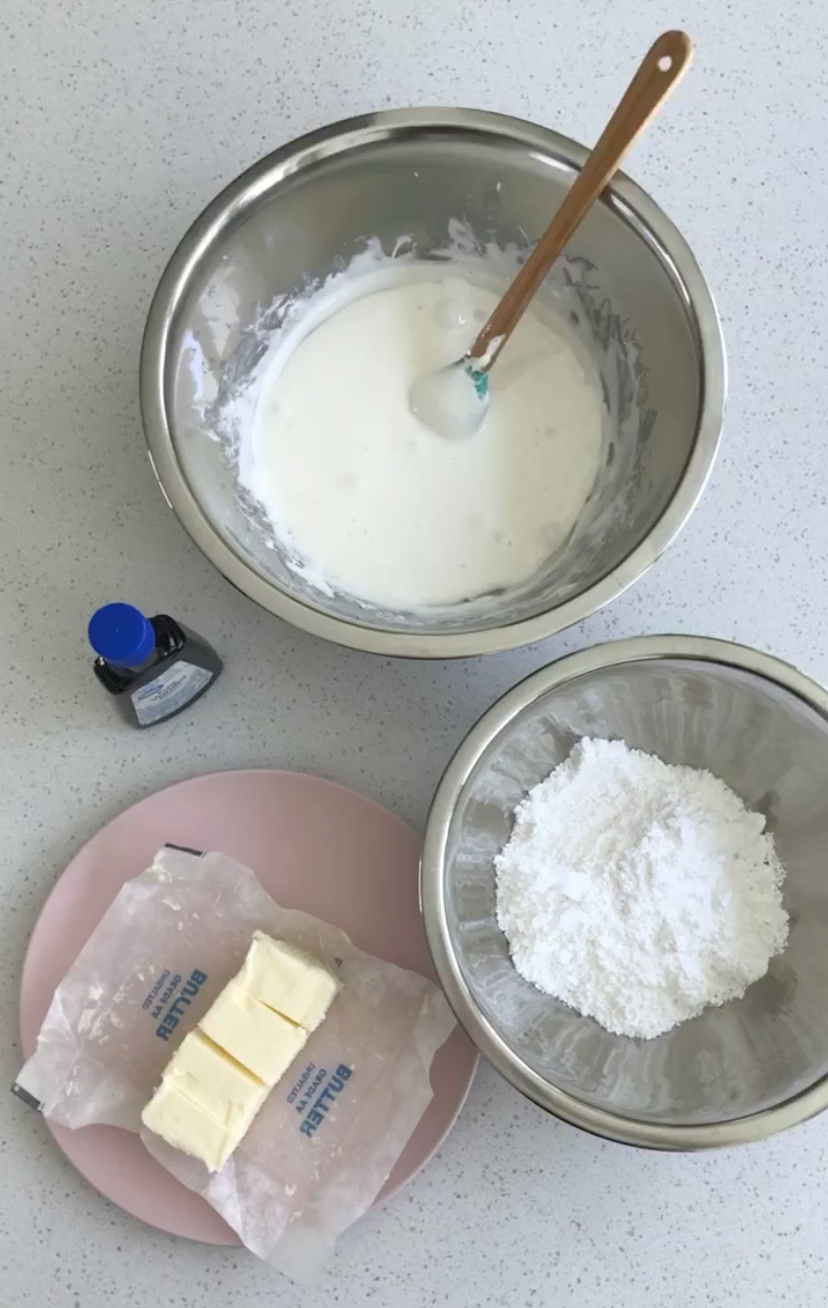
Like I said, I tried to use a bit of an unexpected ingredient (because I have a bunch and have no idea what to do with them), so this made for an interesting baking challenge for me! With this recipe I also tried to use the ingredients I already had at home, so instead of purchasing corn syrup to help me make the marshmallow fluff, I also made my own using sugar, water and lemon juice. This was yet another challenge (but isn’t that what makes life fun?). For efficiency’s sake, I would probably go ahead and get myself some corn syrup, which is a very affordable ingredient that you can purchase from places like Walmart or your local grocery store! Or, for even more expediency and a more foolproof experience, you could also just buy marshmallow fluff from your local grocery store and skip the marshmallow fluff-making process altogether.
But if you’re up for the challenge, I say try your hand at making your own! What I like about making it myself is that I get to control the portion so I don’t have a whole bottle of corn syrup sitting in my pantry because I wanted to use it for this one recipe. And that’s generally the attitude I have towards most specialized ingredients (or at least what I consider specialized) unless the ingredient is just something that can’t be substituted.
Marshmallow frosting on a cake as an idea seemed new and a little bit unique to me, especially one that uses actual marshmallows (most marshmallow frostings don’t actually use marshmallows but actually are made out of egg whites!), but it was something I was definitely interested in trying out. In terms of flavor, marshmallows give an almost milky, vanilla taste, and the added bounce from the marshmallows would create an interesting texture as frosting.
For the orange juice that I used in this recipe, I used the juice from one orange (plus some Sunny D because I ran out of oranges). You can use orange juice concentrate or orange juice purchased from the store.
The Process
Since I tried to make a lot of the ingredients from “scratch” this recipe took a little longer than most. Starting off with the marshmallow fluff, I prepared the corn syrup a day before.


I allowed the sugar to fully dissolve in the water over a low heat, then added in the lemon juice and simmered the mixture further. A quick test to see if the syrup is ready is to take a droplet, place it on a bowl or plate, and dab some with your index finger. After pinching the syrup between your index finger and thumb, if the syrup is sticky and stringy you’re good to go! Another way to check would be to take a very small scoop of syrup, drop it into some cold water, and try to scoop it out. If it comes out as a glob, the syrup is ready. If it’s too runny, it’ll just mix right into the water.
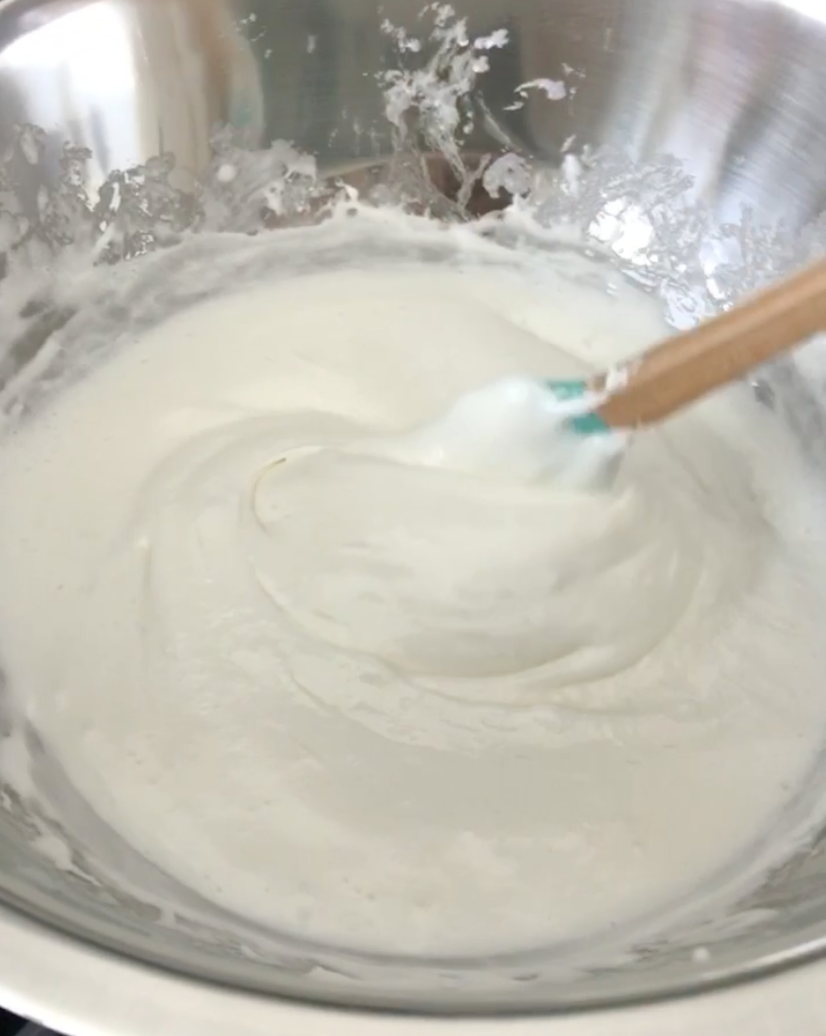
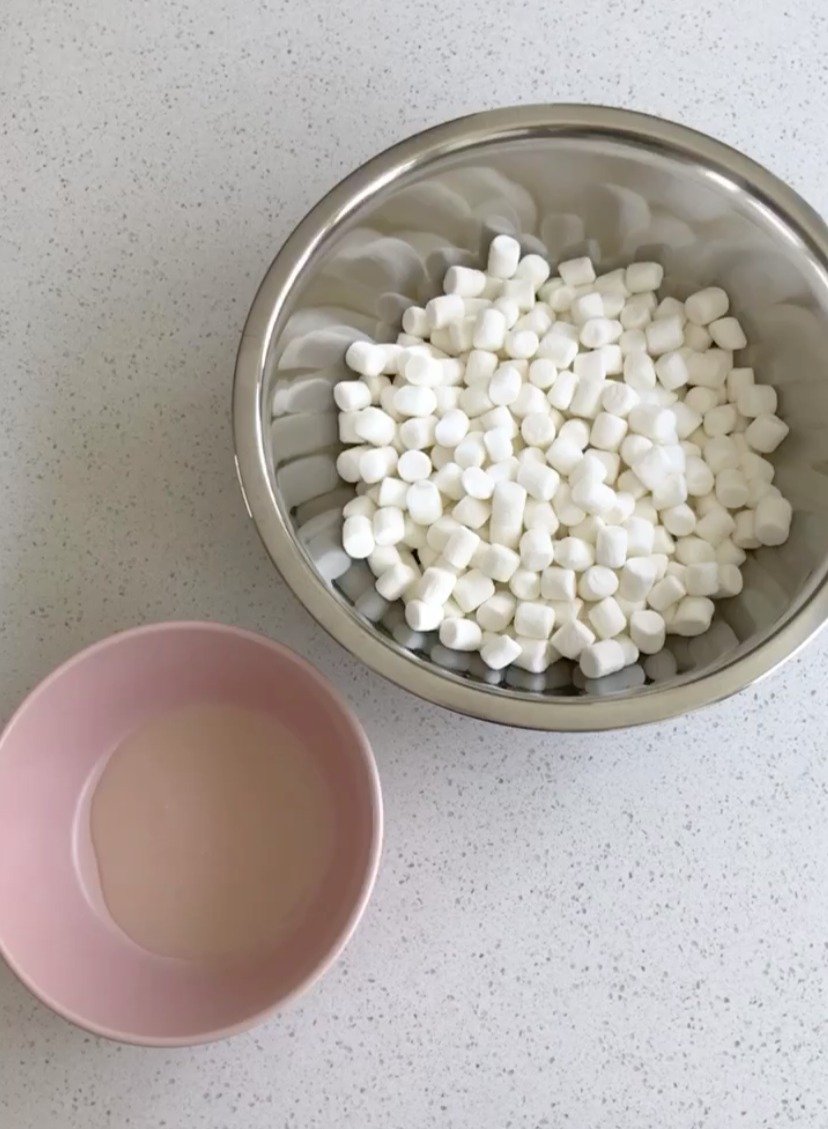
Before getting started with the recipe the next day, I prepared the marshmallow fluff. After melting the marshmallows in a double boiler (a heat-safe bowl over a pot of water on the stove) I folded in the corn syrup and mixed until it was fully combined and fluffy. If you’re making your own marshmallow fluff like I was it might not be as fluffy as marshmallow fluff you buy from the store, as it still may be a little bit stringy from the marshmallows. Like I mentioned above, most marshmallow products aren’t actually made from marshmallows themselves but from meringue so the outcome might be a little different.


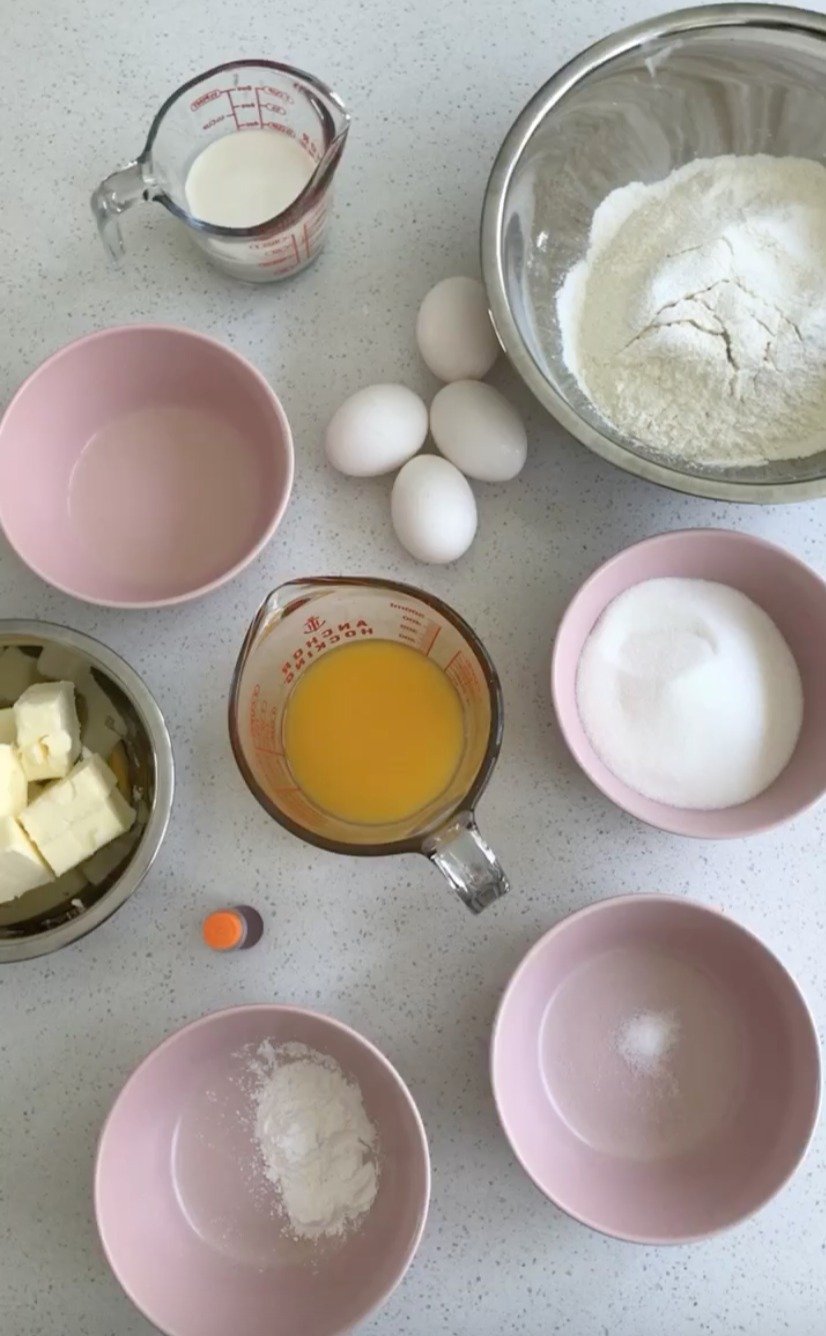
Next up was the cake batter. Since I don’t typically have cake flour, I stick with the tried and true at-home substitution of all-purpose flour and cornstarch. For this recipe I used 2 1/2 cups of flour, took out 5 tbsp, then added in 5 tbsp of cornstarch and double sifted the mixture so it was evenly distributed. Then I combined all the dry ingredients in one bowl, and the wet ingredients in a separate bowl.
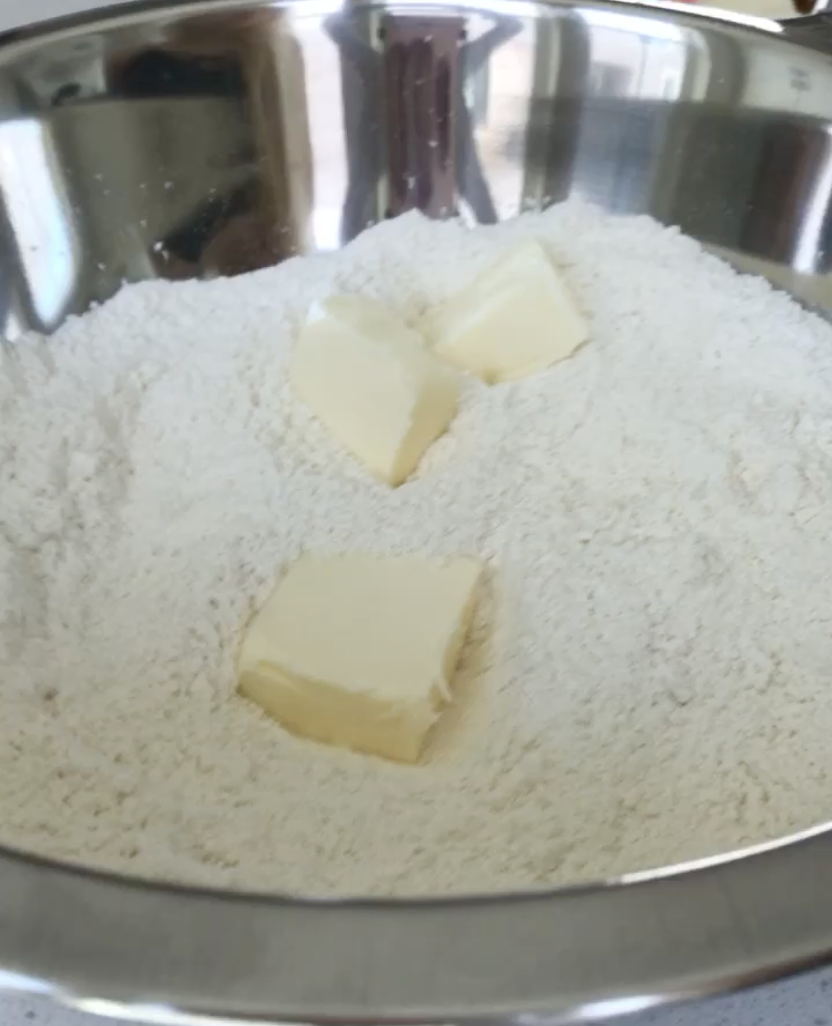
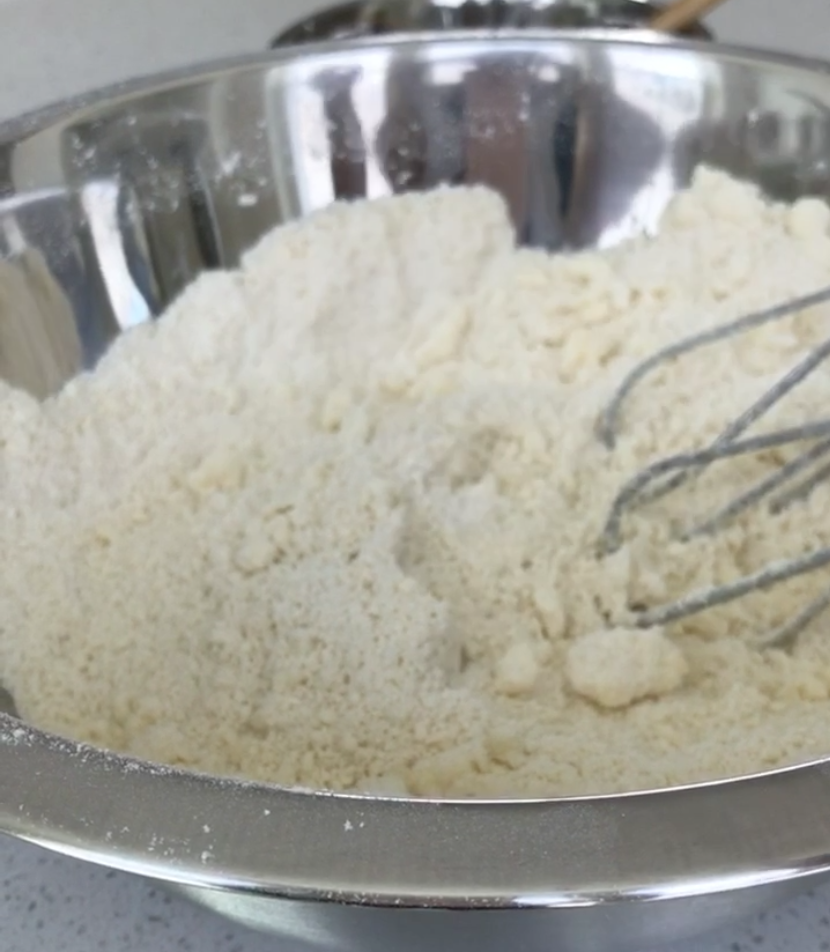
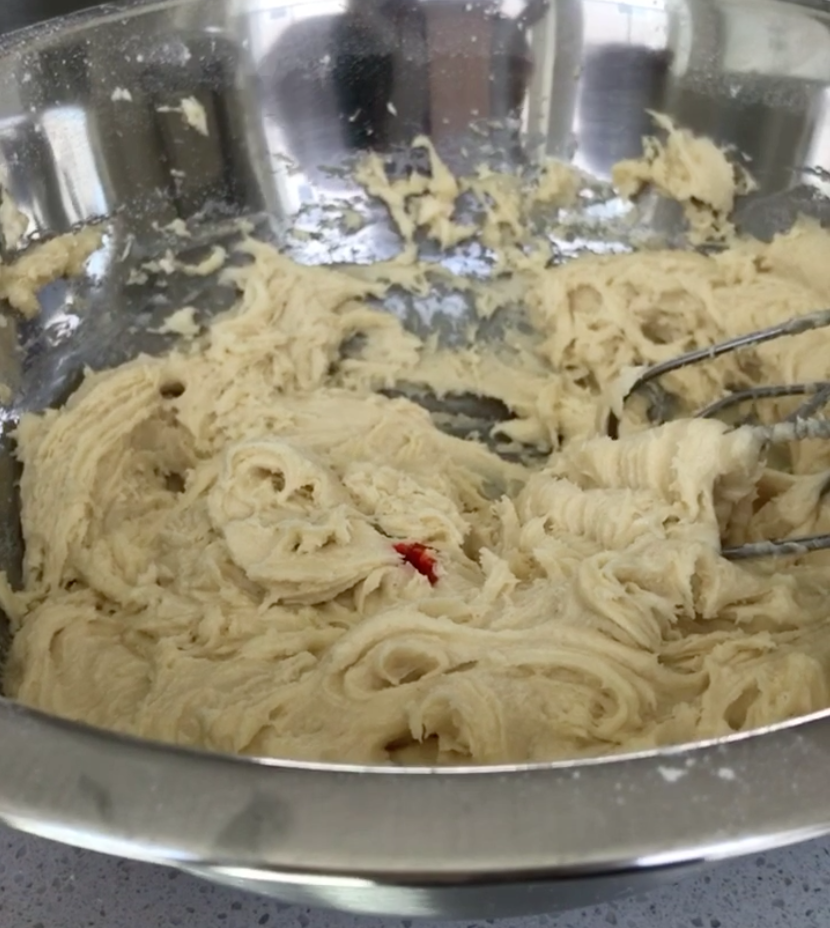
To incorporate the butter, I added a couple slices to the dry mixture, gave it a mix, then added the rest of the slices slowly until all of the dry ingredients were moistened and appeared crumbly. Then I slowly added in half of the wet mixture and mixed together until it was well-incorporated. This was my first time using a hand mixer in a long time and boy was it a mess. It truly makes me appreciate the beauty of stand mixers!
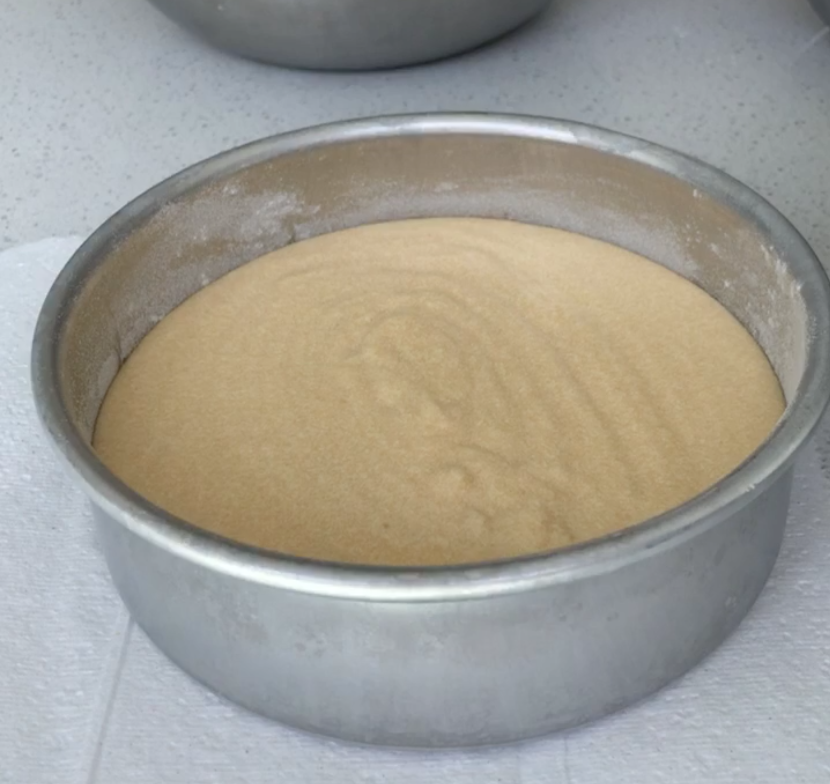
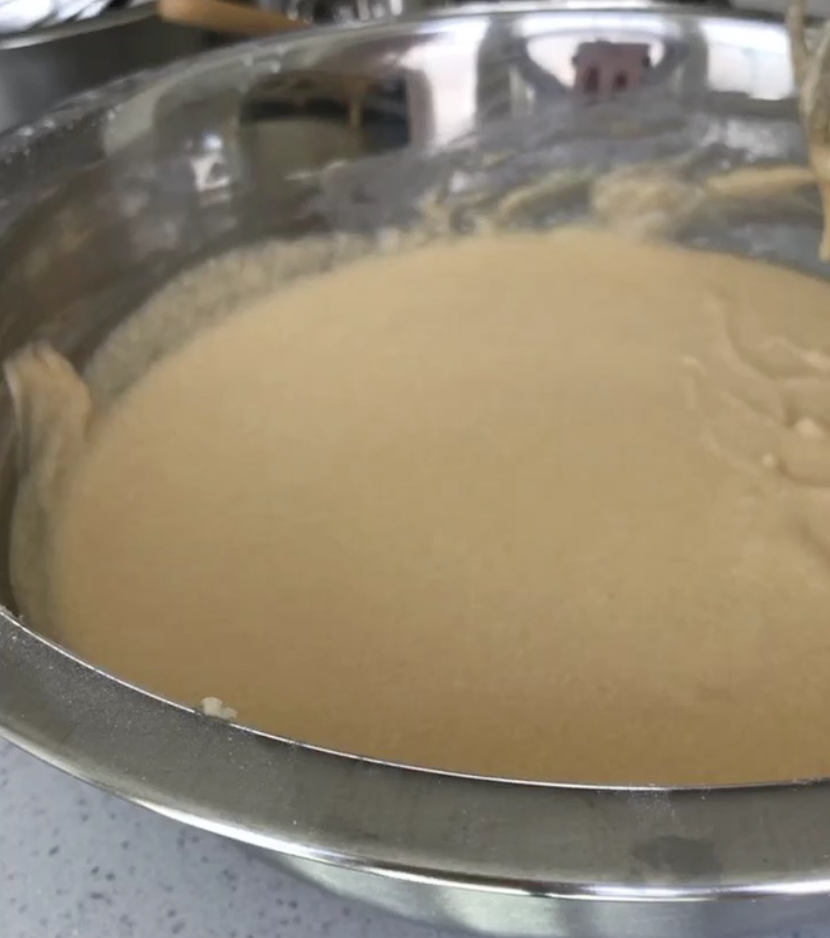
After mixing in the orange food coloring, I mixed in the rest of the wet mixture until the batter was just combined. I poured the batter into two 6-inch cake pans and baked them in the oven at 350F. I started out baking them for around 30 minutes, then checked the center with a toothpick to make sure the center comes out clean or with a few crumbs. I ran into a bit of a hiccup with my new oven, so one layer ended up taking longer to bake than the other, which is why it’s very important to check them with a toothpick rather than just going off a timer! One handy trick if you’re facing the same difficulties, is to loosely cover your cake pan with aluminum foil to make sure the center can bake more without browning the top too much.
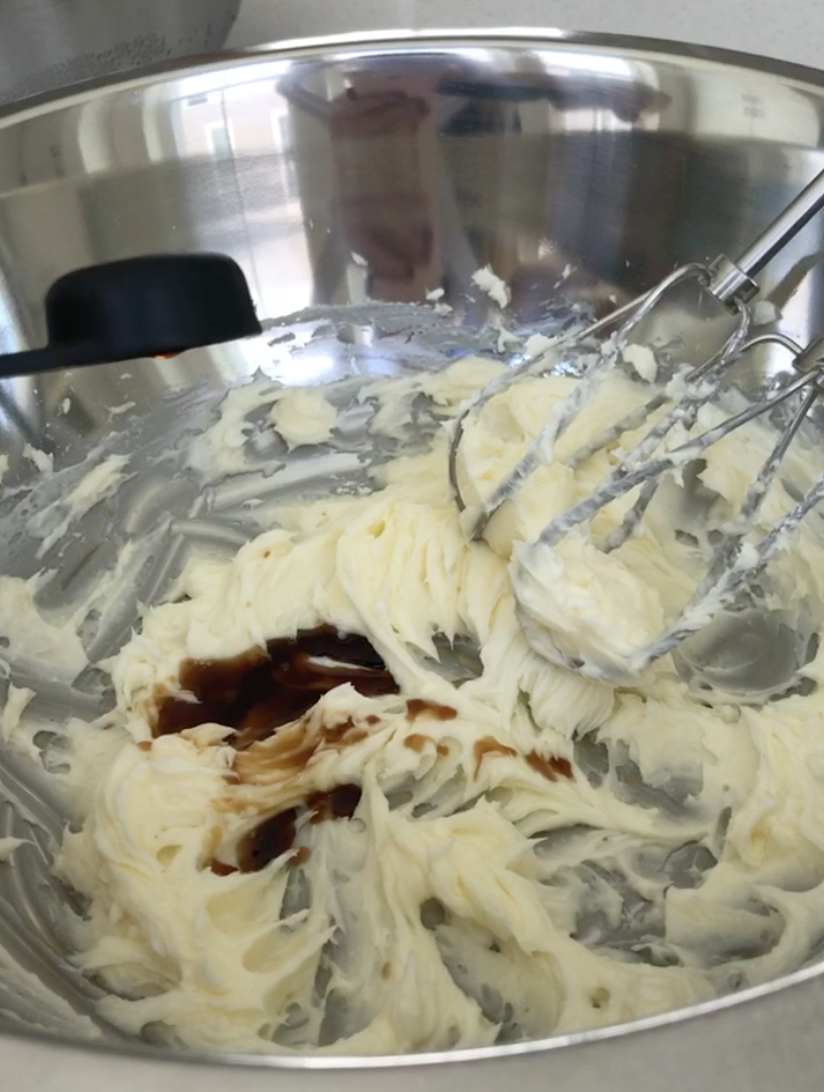
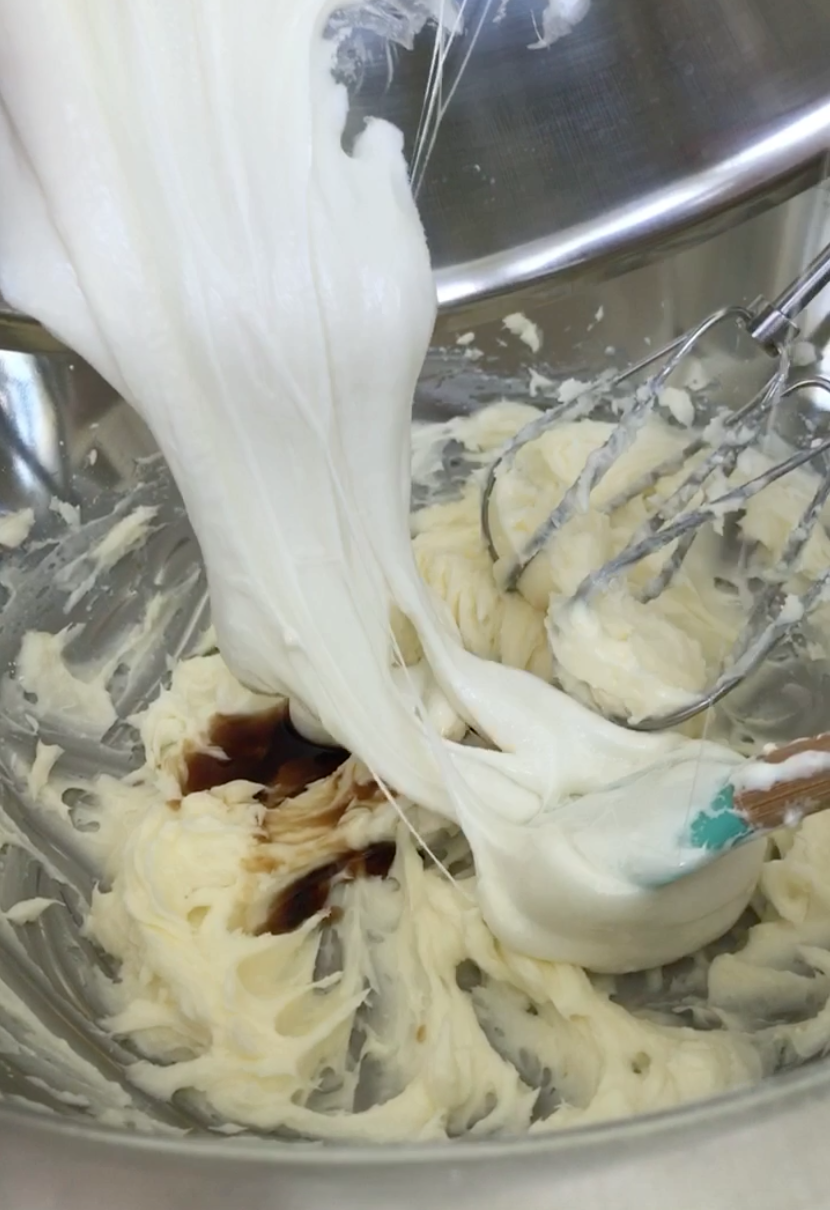
While the cake layers are cooling it's time to prepare the frosting. The butter here needs to be brought to room temperature so that it can be smooth and creamy. Mix it together with the powdered sugar until it was light and fluffy then mixed in the marshmallow fluff. By the time it was time to mix in the marshmallow fluff, it had cooled and was fairly thick and a bit difficult to work with, so I put it back in the double boiler to warm it up and loosen it so. that it could be mixed. It doesn't need to be reheated entirely so it's not too hot, but just so it's workable. Then incorporate it into the butter and fold until fully incorporated.

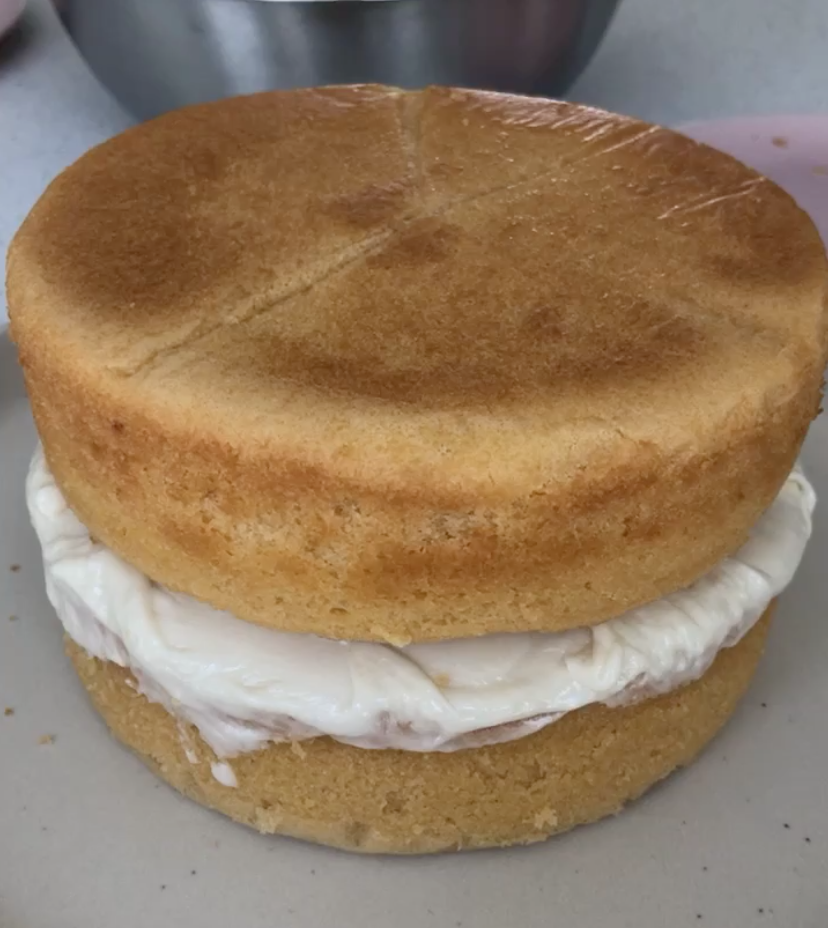
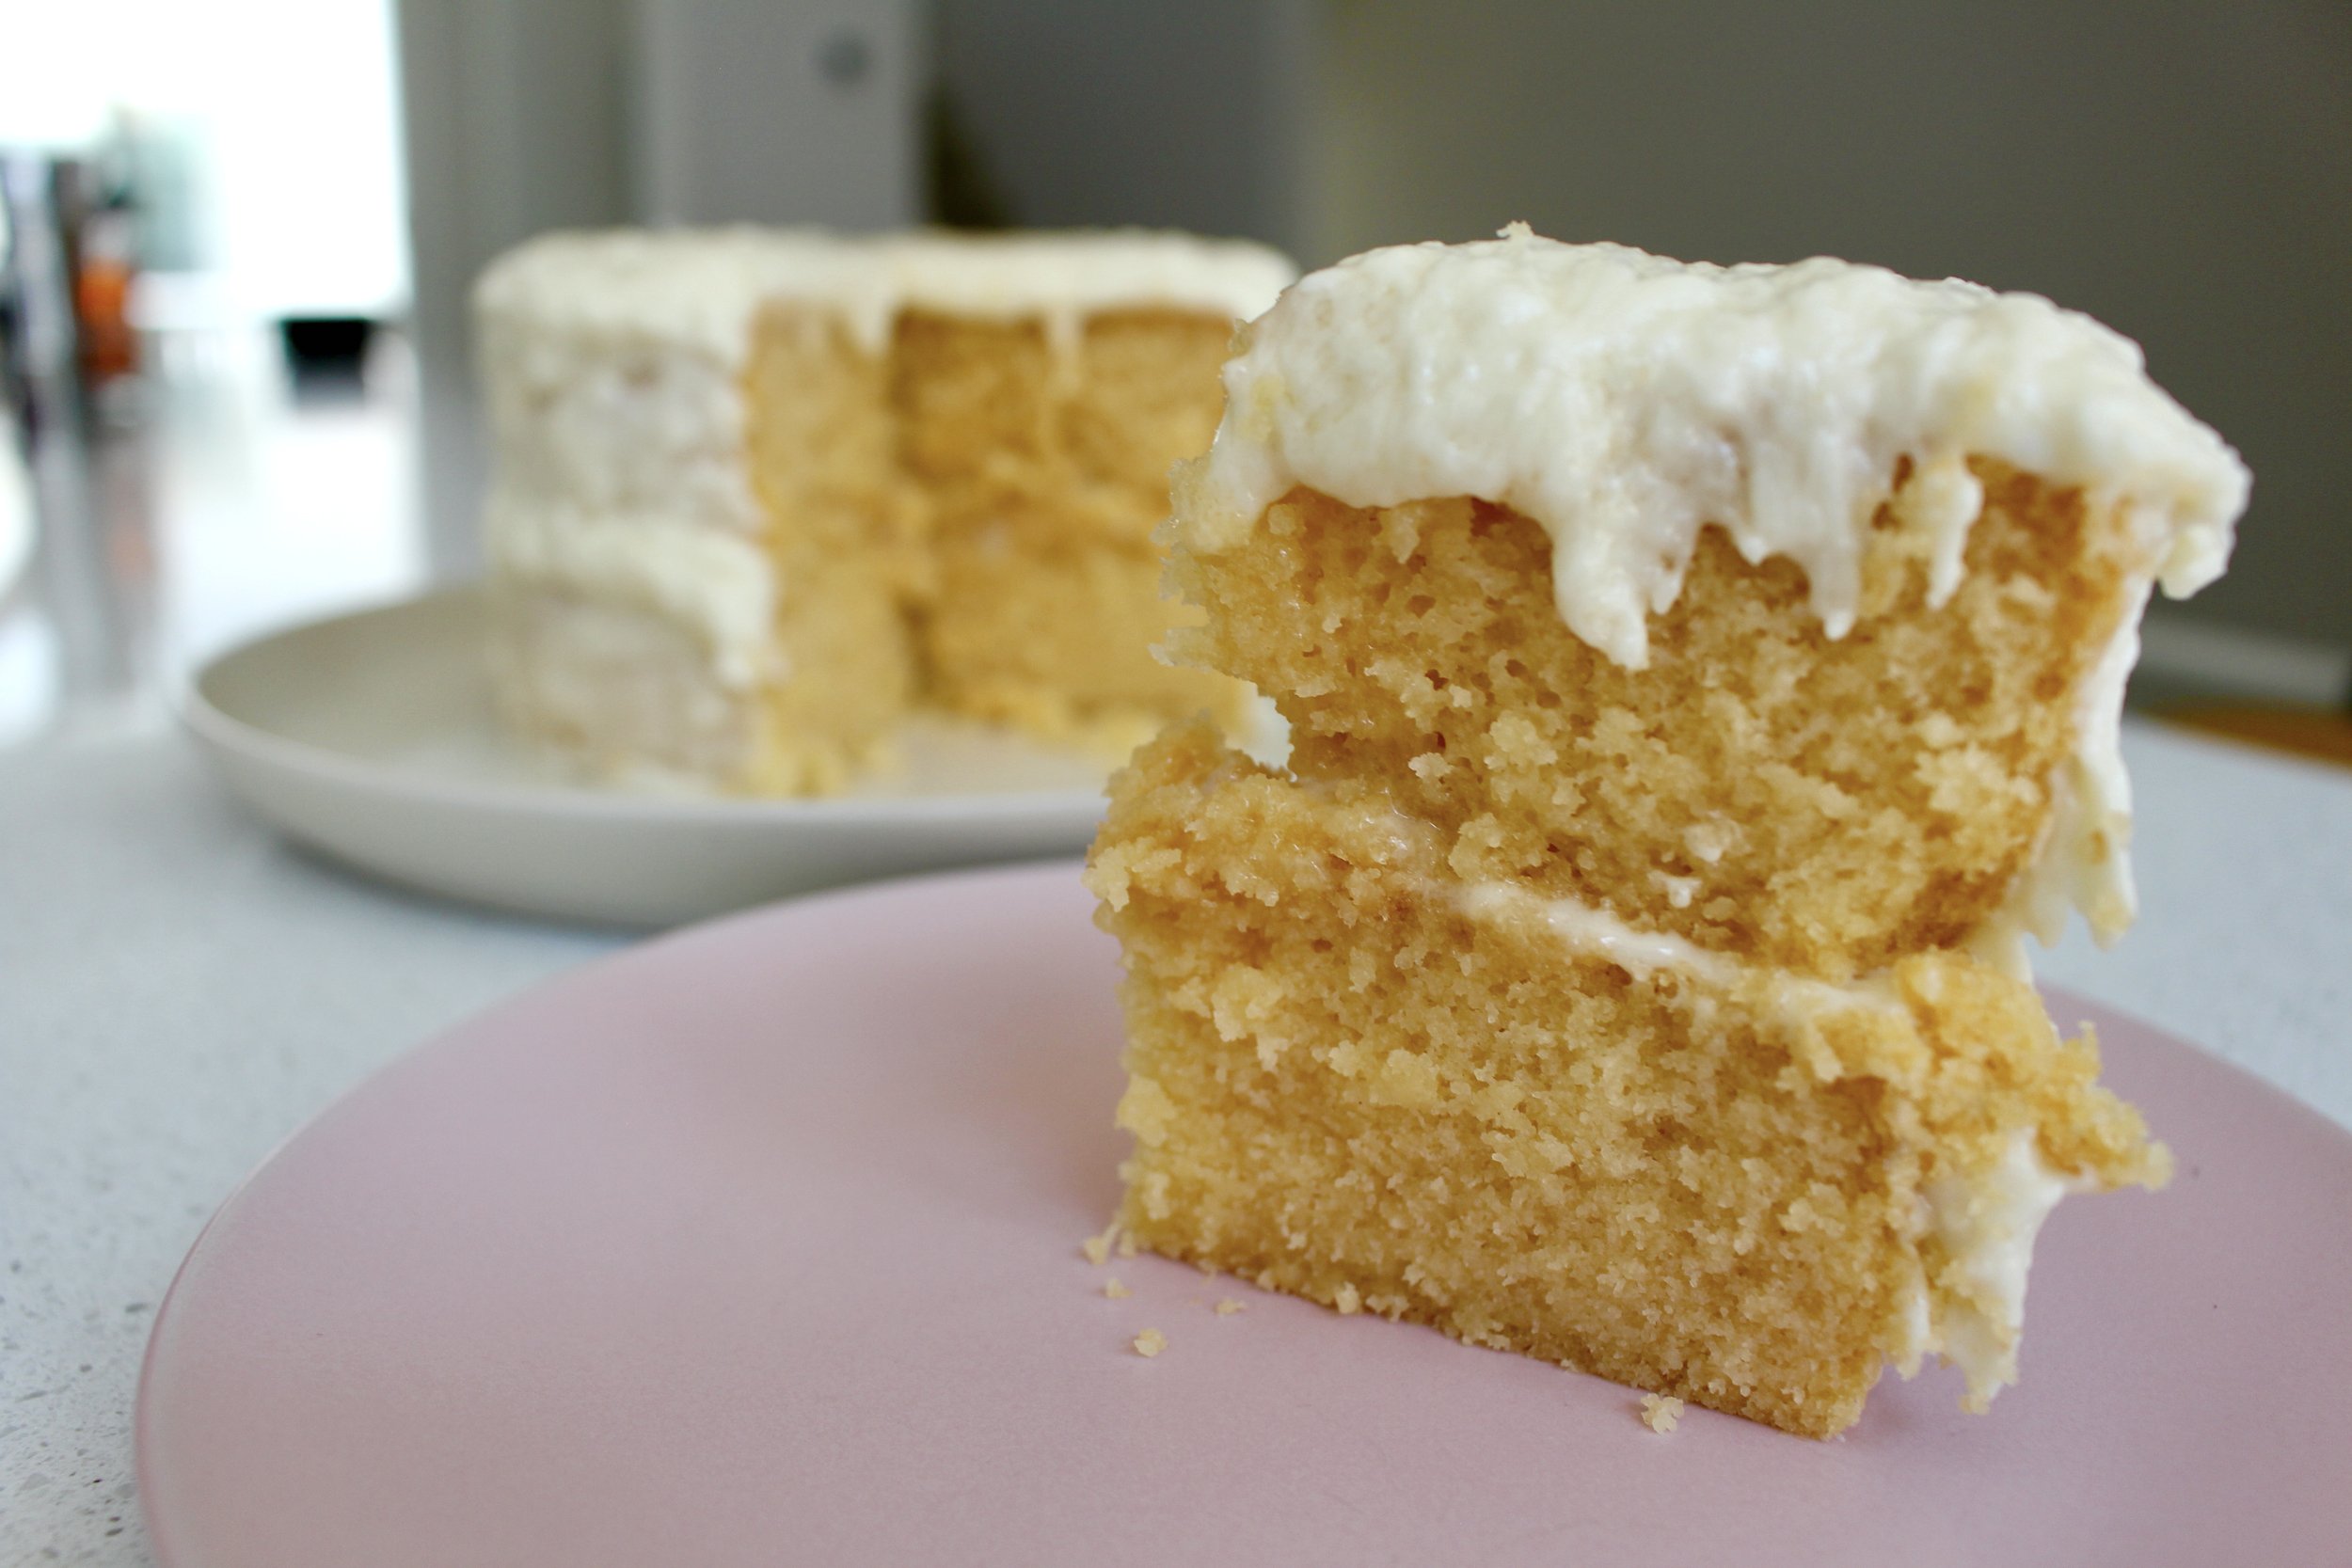
The final step was frosting the cake! Allow the cake layers to cool completely before frosting so that the frosting doesn’t melt. You can use a cake turner if you have one, or grab your handy dandy microwave plate and spinner, place your cake plate on top, and there you have it: your very own cake turner!
Because the marshmallow frosting was still sticky and stringy from its regular solid marshmallow state, it took a bit more effort to layer on the frosting and make it level compared to regular whipped cream or buttercream.
The Results

With this recipe I was in search of orange creamsicle, and I sure found it! The orange flavor in the cake was strong and citrusy thanks to both the orange juice and the orange extract was balanced out well with the creamy vanilla-like flavor from the marshmallow frosting.
This cake is a bit more dense and crumbly for those who prefer that type of texture in their cake. I did enjoy it, but I personally am more of a fan of chiffon cake, so I may give this recipe another go but with a chiffon cake instead, since I really like light and airy cakes.
I liked that the frosting still maintained that bounciness from the marshmallows since it adds a bit of a different texture from traditional cake frosting, but of course a buttercream frosting will work just as well here.
This definitely was a more challenging recipe for me since I was trying something new with my ingredients, but I enjoyed being able to explore a little more and challenge myself with this recipe, and I’m glad that it still turned out yummy and refreshing! A perfect treat to ring in the summer!
Orange Bird Creamsicle Cake
Ingredients
Marshmallow Fluff
ºoº 4 cups mini marshmallows
ºoº 1/2 cup sugar
ºoº 1/4 cup water
ºoº 1/2 tsp lemon juice
Marshmallow Frosting
ºoº 1/2 cup butter room temperature
ºoº 7 oz marshmallow fluff
ºoº 1 cup powdered sugar
ºoº 1 tsp vanilla extract
Cake
ºoº 2 1/2 cups cake flour
ºoº 1 1/2 cups sugar
ºoº 1/2 tsp salt
ºoº 2 1/2 tsp baking powder
ºoº 1 1/2 sticks unsalted butter - cut into 1/2 inch pieces and cooled slightly
ºoº 4 eggs
ºoº 3/4 cup orange juice
ºoº 1/2 cup oat milk
ºoº 1 tbsp orange extract
ºoº Orange food coloring
Directions
Marshmallow Fluff (if you want to make your own)
Heat the sugar and water over low-medium heat, stirring until all sugar is dissolved
Mix in the lemon juice and turn the heat low and allow it to simmer
Check the texture of the mixture by dropping some syrup into cold water and scooping it out with a spoon to check that it hardens in cold water
Once the syrup is thick enough, take it off heat and allow it to cool
Melt the marshmallows on low heat in a double boiler
After the marshmallows are mostly melted with a few lumps, add in 4 tsp of the syrup
Mix thoroughly until smooth and set aside to cool
Cake
Preheat the oven to 350F
Grease and coat 2 6-inch cake pans with flour. Optionally line the bottom with parchment paper
Mix together the flour, sugar, baking powder, and salt salt
In a separate bowl, beat the eggs, orange juice, oat milk, and orange extract
Slowly mix in the slices of cooled butter into the dry ingredients with a mixer until the flour mixture is crumbly
Slowly add in half of the liquid mixture into the dry mixture until batter becomes thick and fluffy
Add in orange food coloring as desired
Slowly add in the remaining liquid mixture and mix until just combined
Pour the batter into the cake pans and tap out any air bubbles
Bake for 30-40 minutes or until a toothpick inserted in the center comes out clean or with some crumbs
Cool the cake for roughly 10 minutes before taking them out of their pans and allow them to cool completely
While the cake is cooling, prepare the frosting
After cakes are completely cooled, assemble the cake by leveling each layer and adding the frosting evenly to each layer
Marshmallow Frosting
Beat the butter and powdered sugar until light and fluffy
Mix in the marshmallow fluff and vanilla by hand
Notes
ºoº If you don’t have cake flour, you can make your own with 2 1/2 cups - 5 tbsp all-purpose flour and
5 tbsp cornstarch
ºoº If you make marshmallow fluff yourself, it may become very thick when it cools. If it’s too difficult to
work with, you can re-heat it in the double boiler to loosen it up before folding it into the butter for
the marshmallow frosting
ºoº Store bought marshmallow fluff will be the easier way to go, but give the homemade version a try
if you're interested!